
For most mobile apps, a splashscreen and loading animation will make the app initialization process look and feel nicer to the user, as well as hiding some initialization processing for a more complex app. Luckily, Nativescript makes both relatively easy to implement when creating your mobile app. In this post I'll go through an example on how to create a new mobile app having a splashscreen, a loading animation and a login page based on my Gophered App.
Let's start by creating a new app using the Nativescript CLI:
tns create splashlogin
Ensure your simple app has been correctly setup by running it in a simulator. We'll use the iOS platform for now and add the android platform later.
cd splashlogin
tns run ios
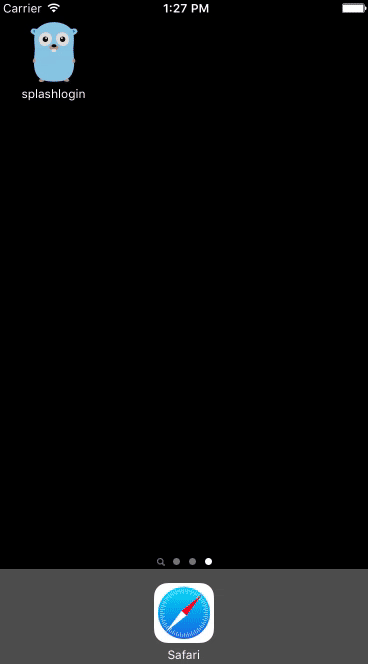
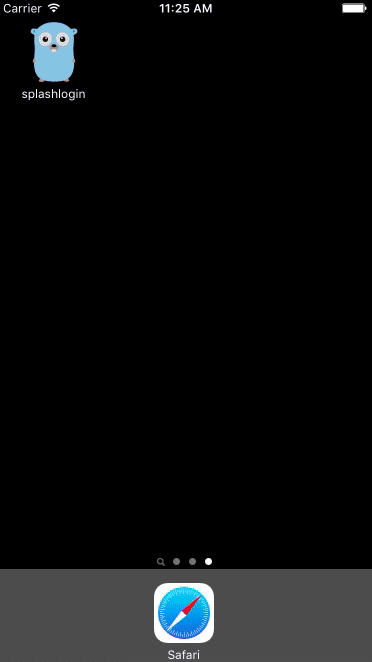
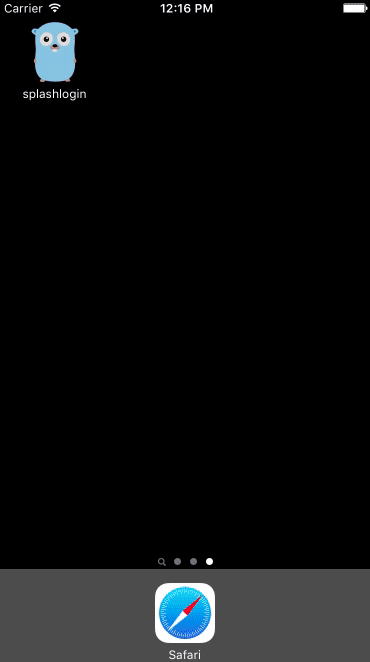
If all is working correctly, you'll see the default Nativescript splashscreen first.

Once the app initializes and the splashscreen fades, you'll see the main page of the Nativescript Hello World app consisting of a button, a counter, and some text.
Creating your own splashscreen
Since a default splashscreen has already been configured for your new Nativescript app, you just have to replace it with your own splashscreen images. Because you'll need a different image for each screen size supported by iOS and Android, you will probably want to use an image processing platform like Nativescript Rocks. This service allows you to upload a single high-definition image, and will return the different sizes needed for iOS as well as Android, in a folder ready to be copied to your Nativescript app project.
For example, if I upload an image to Nativescript Rocks under their Splashscreen generation section, it will generate the following images. For iOS, 3 folders are generated, of which "LaunchImage.launchimage" contains the main splashscreen logo images, and the "LaunchScreen.AspectFill.imageset" and "LaunchScreen.Center.imageset" folders contain solid-color background images for screen filling. The image sizes will range from 320x480 to 1536x2048. For Android, 6 folders are created, named drawable-ldpi, drawable-mdpi, drawable-hdpi drawable-xhdpi, drawable-xxhdpi, drawable-xxxhdpi. Each folder will contain a full-size solid color background image, and a smaller logo image to be centered on the background. The Android image sizes will range from 288x384 to 1536x2048.
For the splashscreen image, there are two things to keep in mind. First, you should use an image with a solid background color and have your logo/text centered so that it will look correct on a variety of platforms. If you're supporting landscape orientation for your app, the image should preferably have a squarish geometry so it looks ok on landscape and portrait views without weird stretching or cutoff effects on different screen sizes. Second, the input splashcreen image should be high resolution to provide the best results when downsampled to generate the lower resolution versions.
For this post, I'll start by creating an image sized 1536x2048 with a blue background (color #2a10c2). Centered on the image, I'll add a company logo. This will be the input image for my splashscreen that I'll upload to Nativescript Rocks. I uploaded this image to Nativescript Rocks, downloaded the zip containing the newly generated "App_Resources" directory, and merged the folder contents into my app's main directory to overwrite the default Nativescript splashscreen images. You'll have to rebuild the app to see the updated splashscreen images so let's do that and run the app again. If you don't see the changes, delete the app, restart the simulator and install and run it again to see the new splashscreen.
tns build ios
tns run ios
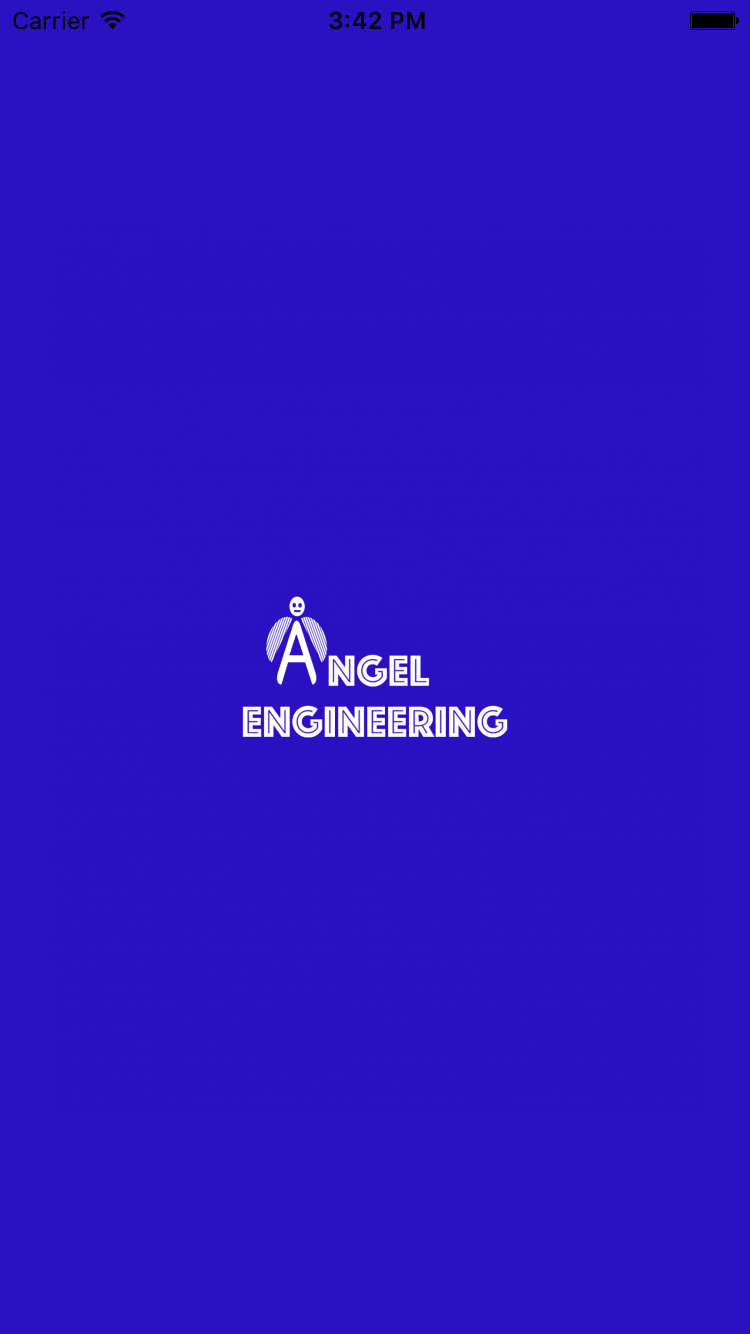
You should now see the new splashscreen when you run the app.
Change the app icon
After updating your splashscreen, you should also change the app launcher icon from the default Nativescript graphic. You will need to create a logo image with a resolution of 1024x1024 to generate icons and also use in the Appstore. I suggest using PNG format, since if you just have a large graphic logo then you can choose to leave the background transparent so it looks cleaner on both Android and iOS. If you have a smaller logo then use an image with a background which will be rounded automatically for iOS, but for Android you will have to change the background to be square or rounded in an image editor.

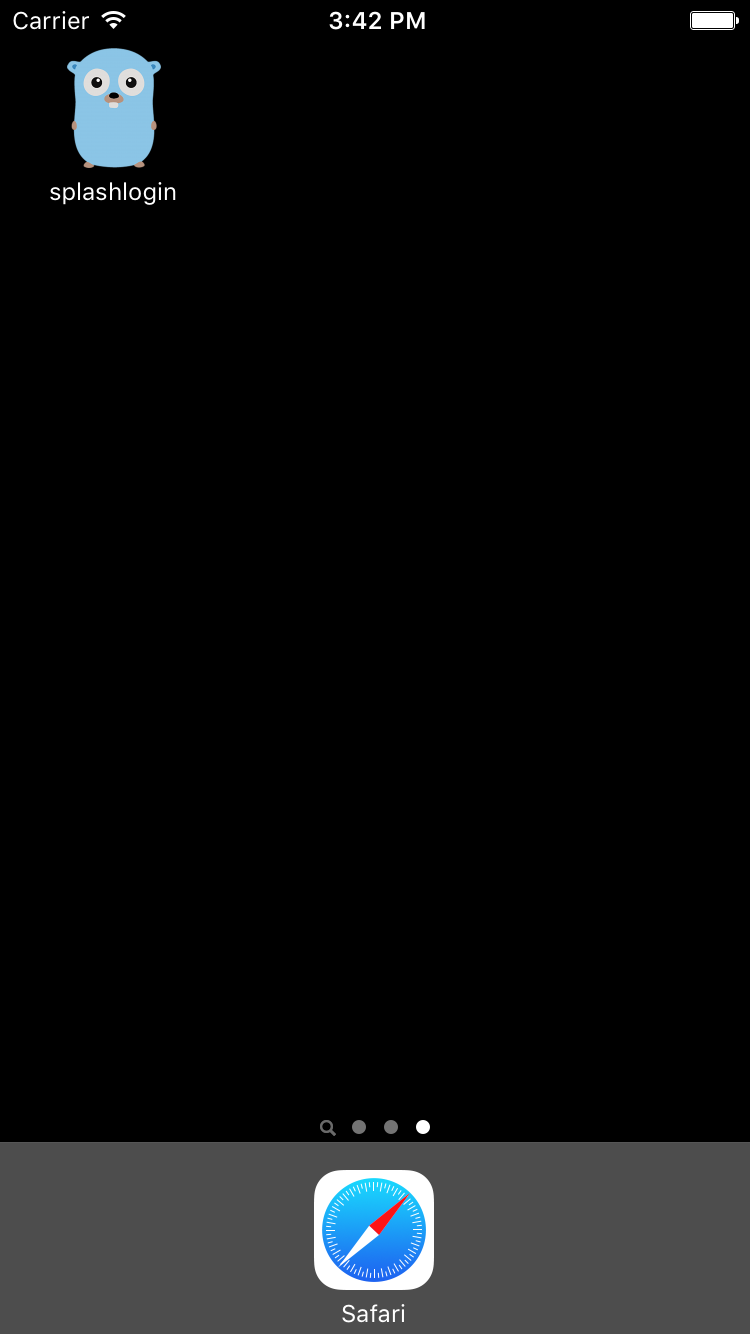
I created a 1024x1024 image that's almost completely filled by my app's gopher image, and left the background transparent. Uploading this to Nativescript Rocks will return a zip file containing another generated "App_Resources" directory. (Note that if you choose to just have the same exact image as both your icon and splashscreen image, Nativescript Rocks has an option to generate both sets of images in one operation by using the checkbox on the icon generation page.) Merge this folder into your app's main directory to overwrite the default Nativescript icon images with these new ones. You'll have to rebuild the app again to see the updated launcher icon before running the app again. If you don't see the changes, delete the app, restart the simulator and install and run it again to see the new icon.
tns build ios
tns run ios
Animating from splashscreen to login page
Animations in Nativescript are based on modifying a restricted set of CSS properties, namely: opacity, background-color, translate, scale and rotate. You'll need to keep this in mind when designing animations for your app. You can look at the documentation online for Nativescript Animations to read more about the css elements that can be animated as well as this page to read more about using animations in your app. Also keep in mind when designing that you may need to control some animations during your app initialization process via javascript code for proper timing. Other animations can just be defined and pre-assigned in CSS so they start running the animation after the main page is loaded and rendered.
For my app, I plan on doing the animation from splashscreen to login page in 3 stages from the starting app page layout. First, I'll set my initial app page to the same image as the splashscreen to make the transition from splashscreen the first page of the app less abrupt. Second, I'll fade this image to make it disappear into a white background. Third, I'll slide and fade in the login page form elements. While all of this is happening, I will have my app perform various initialization processes such as opening the local database, checking app permissions and establishing a network connection to the server.
Part 1: Transition from splashscreen to blank main page
We'll start by having the app fade the splashscreen page into a blank page with the same background color as the splashscreen. Open "/main-page.xml" and change the contents so it now contains:
<Page xmlns="http://schemas.nativescript.org/tns.xsd"  class="page-layout" backgroundSpanUnderStatusBar="true"  loaded="onLoaded" >
</Page>
Edit the "/main-page.js" file and change the contents to:
exports.onLoaded = function (args) {
}
Next, open the "/app.css" file and delete everything except the following:
@import '~nativescript-theme-core/css/core.light.css';
Finally, create and edit the file "/main-page.css", and add the following:
.page-layout {
   background-color: #2a10c2;
}
Inside "main-page.xml", the Page tag contains a few changes that are important. The class="page-layout" css class assignment sets the background color of the main page to be #2a10c2, which is the same background color as the splashscreen image. This has the benefit of making the splashscreen fade look less abrupt and will give the appearance of fading out your splashscreen logo. The backgroundSpanUnderStatusBar="true" is needed to ensure the status bar has the same background color as the main page, otherwise it will default to white and make the transition look odd. Finally, the onLoaded function will be executed when the page is loaded (loaded="onLoaded"), which can be used for initialization and more complicated javascript based animations as you develop your app.

Step 2: Revealing the login page
Now we'll add a few more animations to complete the rendering of the main login page. First, we'll start by fading the background to our app's white background by making the following change to "main-page.css":
.page-layout {
     background-color: #2a10c2;
     animation-name: intro-background-intro;
     animation-duration: 2;
     animation-fill-mode: forwards;
     animation-iteration-count: 1;
     animation-timing-function: cubic-bezier(0.25, 0.1, 0.25, 1);
 }
 @keyframes intro-background-intro {
     0% {
         background-color: #2a10c2;
     }
     20%{
         background-color: #2a10c2;
     }
     100% {
         background-color: white;
     }
}
And you should now see the following transition:
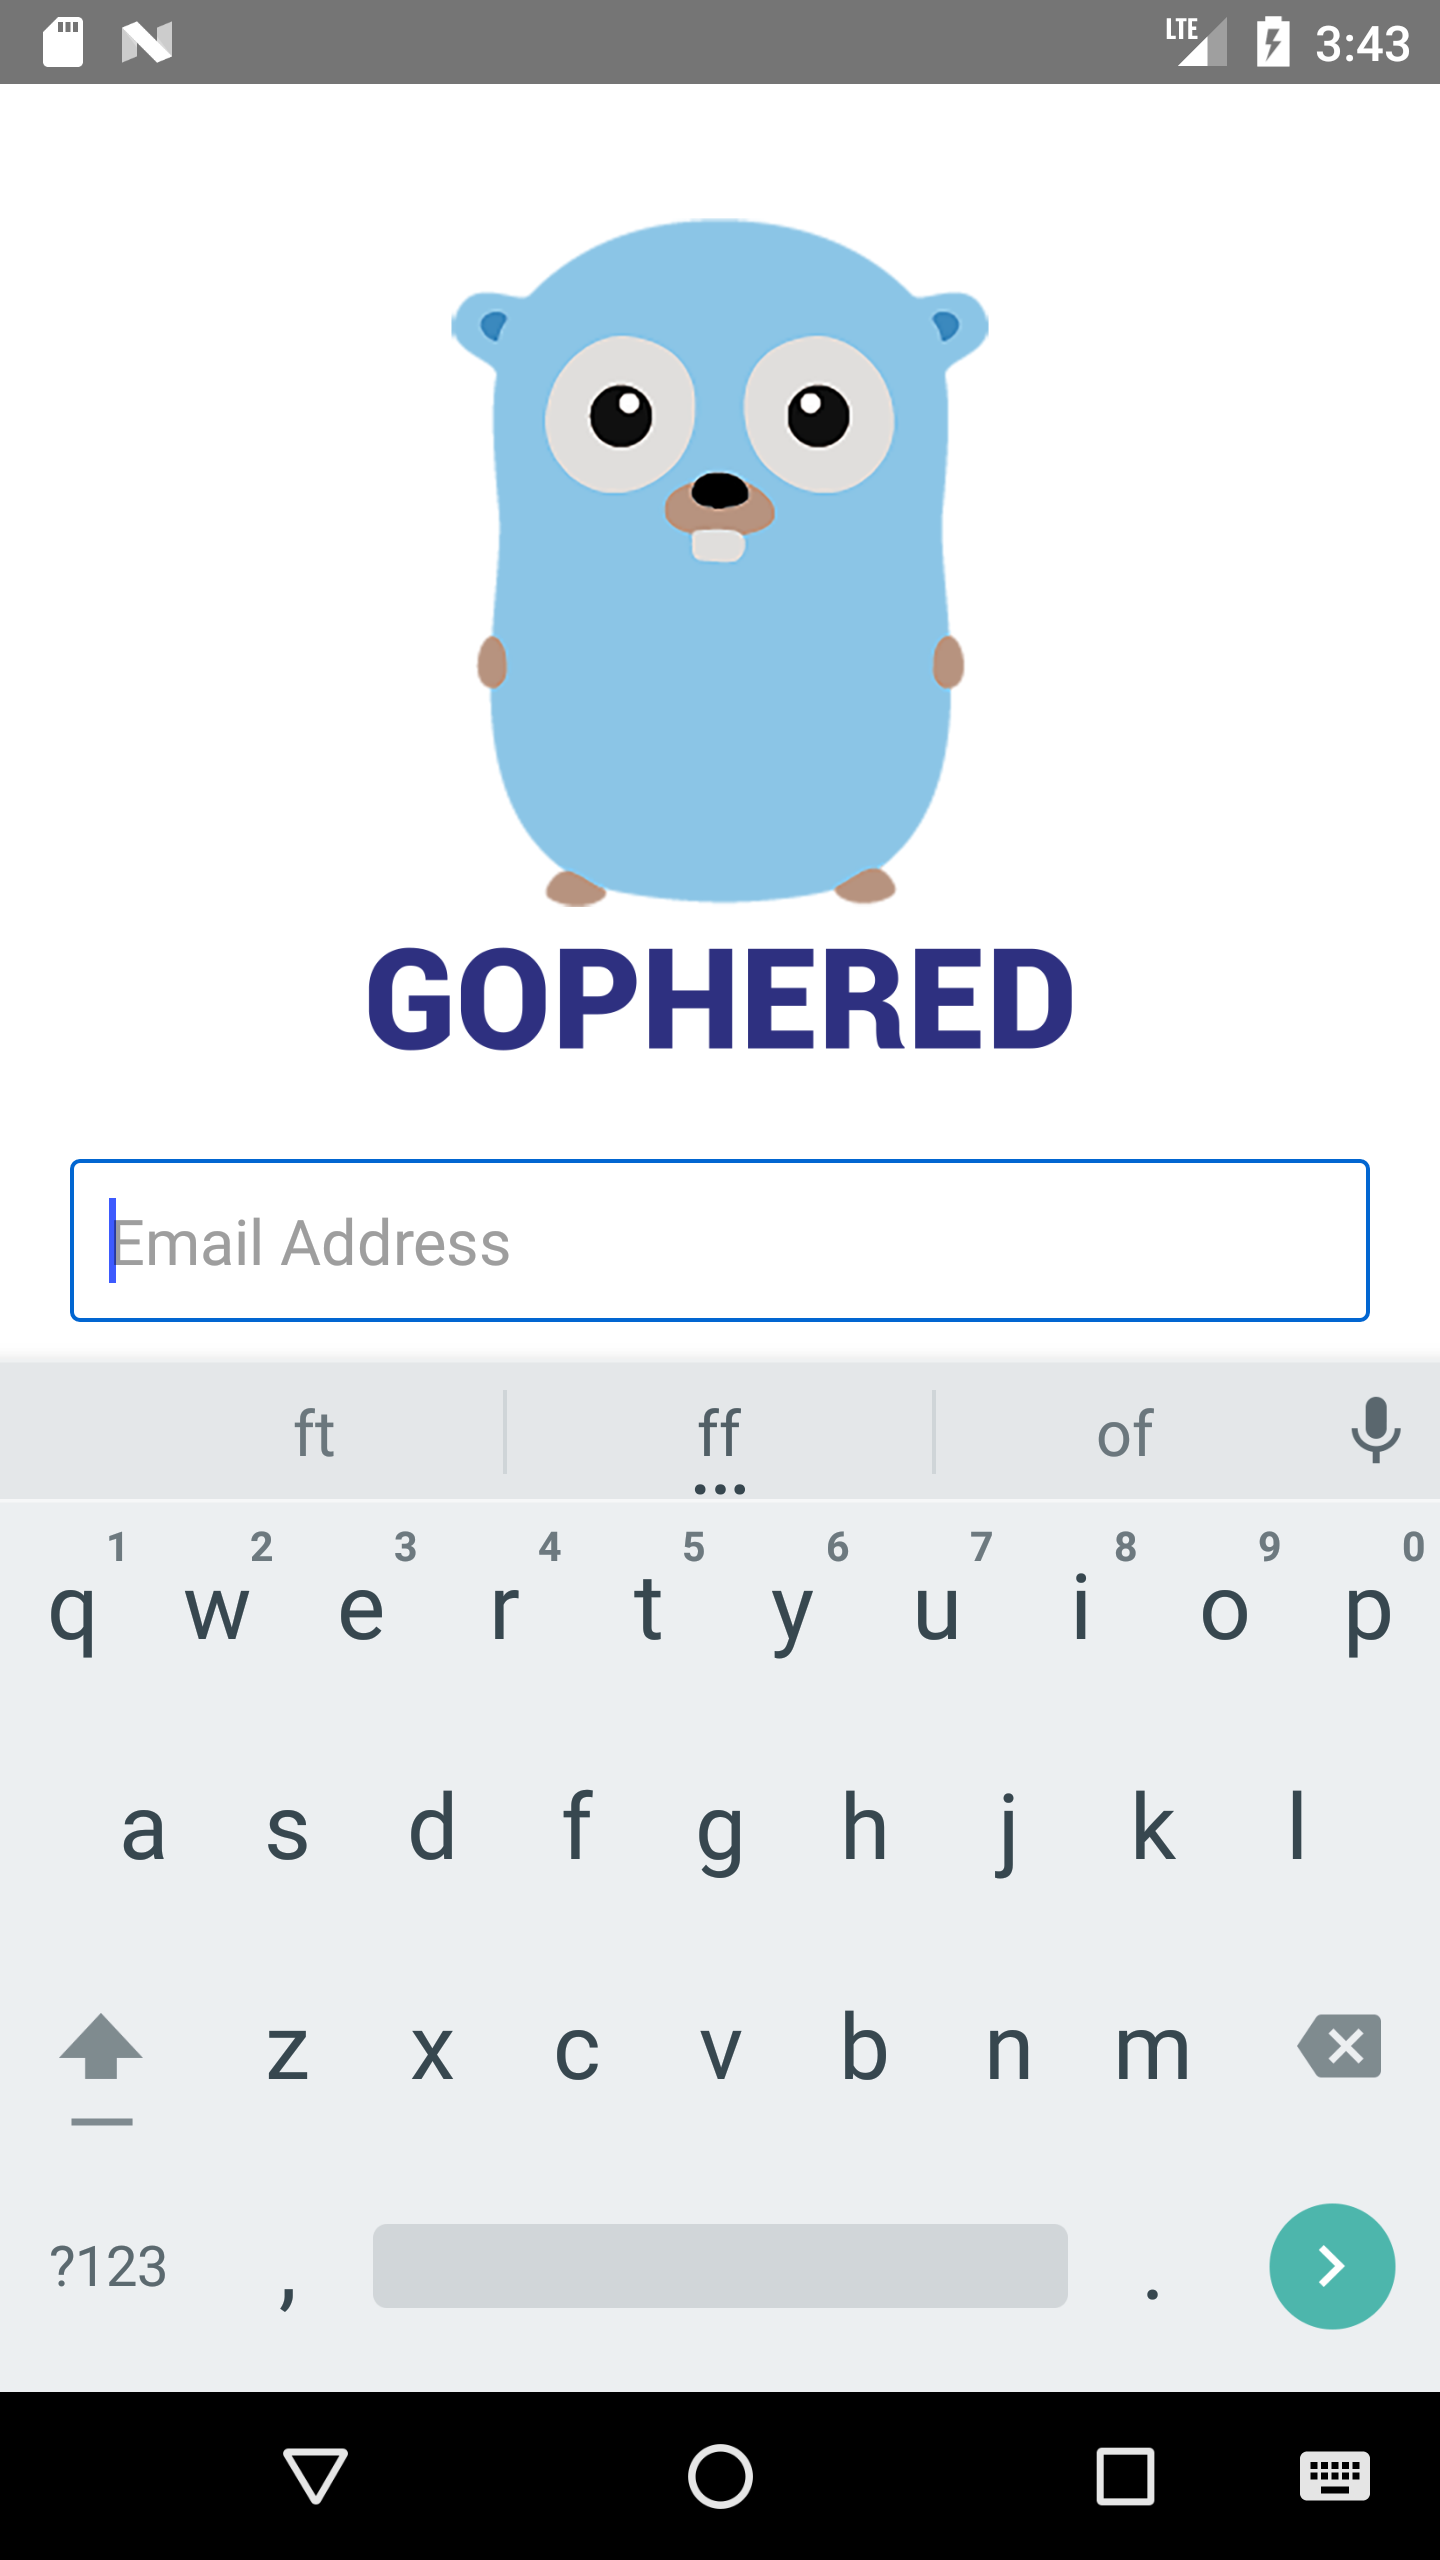
Now we can add in our login page elements. Edit "main-page.xml" so it looks like the following:
<Page xmlns="http://schemas.nativescript.org/tns.xsd" id="objPage" backgroundSpanUnderStatusBar="true"  class="page-layout" loaded="onLoaded" >
    <ScrollView orientation="vertical">
        <StackLayout  width="100%" height="100%" visibility="visible" id="layoutStack" horizontalAlignment="center"  verticalAlignment="center" orientation="vertical">
            <Image class="logo-image anim-fade-in"  id="logoGopher" src="res://gopherlogo" stretch="none" horizontalAlignment="center" />
            <TextField  class="input-field anim-fade-in" id="fieldEmail" hint="Email Address" keyboardType="email" autocorrect="false" autocapitalizationType="none" />
            <TextField  class="input-field anim-fade-in" id="fieldPassword" secure="true" hint="Password" />
            <Button class="btn btn-outline btn-active btn-rounded-lg  btn-def anim-fade-in"  id="buttonLogin"  text="Sign in" />
        </StackLayout>
    </Scrollview>
</Page>
We've added an email and password field, a sign-in button and an app logo to our page, all contained inside a StackView (which can store other login form elements) which itself is inside a Scrollview (in the case there are too many elements for visible space to allow user scrolling to the overflow login form elements). From its defined properties, the StackView will be the entire size of the device screen, display items stacked from top to bottom, and position the items horizontally and vertically centered on the screen.
Let's add some styles and a slide/fade in animation to the login page elements by adding the following to "main-page.css":
.input-field{
    border-width: 1;
    border-style: 'solid';
    border-color: #0266d1;
    border-radius: 10px;
    padding:10;
    margin-top:20;
    margin-left: 20;
    margin-right: 20;
}
.btn-def {
    color: white;
    background-color: rgb(48, 48, 241);
    border-color:rgb(41, 40, 40);
    width:120;
    margin-top:20;
}
.logo-image{
}
.anim-fade-in{
    animation-name: intro-element-intro;
    animation-duration: 2;
    animation-fill-mode: forwards;
    animation-iteration-count: 1;
    animation-timing-function: cubic-bezier(0.25, 0.1, 0.25, 1);
}
@keyframes intro-element-intro {
    0% {
        opacity:0;
        transform: translate(0, 1000);
        animation-timing-function: cubic-bezier(0.25, 0.1, 0.25, 1);
    }
    100% {
        opacity:1;
        animation-timing-function: cubic-bezier(0.25, 0.1, 0.25, 1);
        transform: translate(0, 0) ;
    }
}
You should now see your splashscreen fade into a white background and the login page elements fade and slide into view. We've added the same anim-fade-in class to each element, which will animate the fade and slide in effects. You can also add a separate animation class to each element to have them slide in a staggered order by adding a new keyframe for each element's animation definition with offset timing.
Step 3: Adding more complex animation to the splashscreen logo
If you want to do something besides just fade the logo from your splashscreen into a solid background color, we can try adding an image in the same location as the splashscreen to allow for more complex transitions. Let's make a few changes to "main-page.xml" so it now looks like:
<Page xmlns="http://schemas.nativescript.org/tns.xsd" id="objPage" backgroundSpanUnderStatusBar="true"  class="page-layout" loaded="onLoaded" >
    <ScrollView orientation="vertical">
        <GridLayout>
            <Image row="0" col="0" class="company-image" id="companyImage" src="res://splashlogofull" />
            <StackLayout  row="0" col="0" width="100%" height="100%" visibility="visible" id="layoutStack" horizontalAlignment="center"  verticalAlignment="center" orientation="vertical">
                <Image class="logo-image anim-fade-in"  id="logoGopher" src="res://gopherlogo" stretch="none" horizontalAlignment="center" />
                <TextField  class="input-field anim-fade-in" id="fieldEmail" hint="Email Address" keyboardType="email" autocorrect="false" autocapitalizationType="none" />
                <TextField  class="input-field anim-fade-in" id="fieldPassword" secure="true" hint="Password" />
                <Button class="btn btn-outline btn-active btn-rounded-lg  btn-def anim-fade-in"  id="buttonLogin"  text="Sign in" />
            </StackLayout>
        </GridLayout>
    </Scrollview>
</Page>
And add the following to "main-page.css":
.company-image{
    transform:scale(0.9,0.9) translate(0,54);
    animation-name: intro-company-intro;
    animation-duration: 4;
    animation-fill-mode: forwards;
    animation-iteration-count: 1;
    animation-timing-function: cubic-bezier(0.25, 0.1, 0.25, 1);
}
@keyframes intro-company-intro {
    0% {
        transform:scale(0.9,0.9) translate(0,54);
        animation-timing-function: cubic-bezier(0.25, 0.1, 0.25, 1);
        opacity: 1;
    }
    100% {
        animation-timing-function: cubic-bezier(0.25, 0.1, 0.25, 1);
        transform:scale(0,0) translate(0,-554);
        opacity: 0;
    }
}
The Image entry adds a new image I generated by Nativescript Rocks via the "Normal Image" section of the site by uploading the same image I used for my splashscreen generation, except with a transparent background. The added css is used to adjust the image slightly upwards as well as shrink the image slightly to make it match the splashscreen for the iPhone 6,6s and 7 screen size. The animation added will fade the logo out while scaling it down and moving it upward as the rest of the login page is animating upwards into visibility.
You should note that I've added an enclosing GridLayout to both the image and my original StackLayout containing the login form elements. By using a GridLayout, and assigning both the Image and the StackLayout to share the same single row and column, I can have them appear overlaid on the screen. If I had just added the image to the StackLayout, then I would have had to add some javascript to set visibility="collapsed" to the logo image in order to have the rest of the login form elements appear centered. Similarly, adding the image outside the StackLayout would have covered or been covered by the StackLayout page, and would also need javascript to change the visibility.
I also explored using a smaller, cropped image of the logo with a transparent background. This turned out to be more trouble to center than the fullscreen image especially on different screen sizes and resolutions, so I ended up sticking with the same image dimensions used for the splashscreen image, as after PNG optimization the sizes of the full-size and cropped are almost the same.

After running this code on a simulator that's not an iPhone 6,6s or 7, you may notice a little stutter when the app is run on different device screen sizes as the splashscreen and image don't align exactly. This is mostly due to varying device screen densities and pixel counts. Before you release your app you'll probably want to create different CSS stylesheets for difference device design breakpoints which can hide this for the most part.
For example, running the previous code on a simulator for an iPhone 4s will look like the following:

Having the logo scale and translate helps to hide it, but you can see the slight scale change between the splashscreen and the logo image I'm using for the main page. To avoid this it's best to load different css settings for different device sizes as part of your final app.
Step 4: Fix Android-specific style problems:
Now that we've finished developing our new login page using iOS, let's see how it looks in Android.
You'll notice that for Android, the Action Bar is shown by default with the name of the app. For iOS, it defaults to hidden for the first page loaded for your app if there isn't one defined in your XML. We can set it to be explicitly hidden for both platforms by adding actionBarHidden="true" to our Page tag in "main-page.xml" so it looks like the following:
<Page xmlns="http://schemas.nativescript.org/tns.xsd" id="objPage" backgroundSpanUnderStatusBar="true" actionBarHidden="true" class="page-layout" loaded="onLoaded" >
Another issue you'll run into on Android is that when an initial page has form elements, the OS will focus on the first element and popup the keyboard automatically. While acceptable, it is not very aesthetically pleasing at times, so let's add a work-around. Note that this is the only approach I've found to work consistently, as other ones mentioned online didn't work for me, or would show the keyboard briefly before hiding, which looks even worse.
My work-around involves making the email and password fields initially non-editable, and adding an onTap handler to enable them when the user wishes to enter their information to login. Modify your email and password fields in "main-page"xml" to look like this:
<TextField  editable="false" tap="setEditable" class="input-field anim-fade-in" id="fieldEmail" hint="Email Address" keyboardType="email" autocorrect="false" autocapitalizationType="none" />
<TextField  editable="false" tap="setEditable" class="input-field anim-fade-in" id="fieldPassword" secure="true" hint="Password" />
And edit your "main-page.js" so it looks like this:
var currentPage;

function setEditable() {
  var un = currentPage.getViewById("fieldEmail");
  var p = currentPage.getViewById("fieldPassword");
  un.editable = true;
  p.editable = true;
}
exports.setEditable = setEditable;

exports.onLoaded = function(args) {
    currentPage = args.object;
}
This does require an extra tap by the user to start editing the fields but prevents the keyboard issue on Android devices, so I generally use this strategy for apps that have form elements on the initial page.
Summary
And that's it, now you'll need to hook in functionality to your login fields and button and continue working on the rest of your app. In a future post, I'll discuss how to use these types of animations to help hide initialization time in more complex apps.
If you'd like to download the final source files for a quick start, you can download them from Github.