

If you have a Ghost blog, you probably want to give your readers a way to subscribe to it and be notified when a new story is posted. Ghost does have an option to collect email addresses, but no sending functionality yet. Luckily, there is an easy way to do it with help from Zapier and Mailchimp.
Capturing subscriptions with Ghost and Mailchimp
As of Ghost v0.8, there is support to capture subscription email addresses from your Ghost blog via a Ghost Labs feature. Unfortunately, Ghost doesn't yet support email sending, so you will have to integrate another service like Mailchimp to send emails to your subscribers. Ghost does make this easier by having integration support via Zapier Ghost Integrations.
You'll need accounts on both Zapier and MailChimp, so go to each of their sites first to register for a free account. Once you have both accounts ready, we will first capture subscription requests from Ghost into a Mailchimp list. Afterwards, we will use Zapier and Mailchimp to create a new email campaign every time a new post is published on your Ghost blog which can then be sent to subscribers on this list.
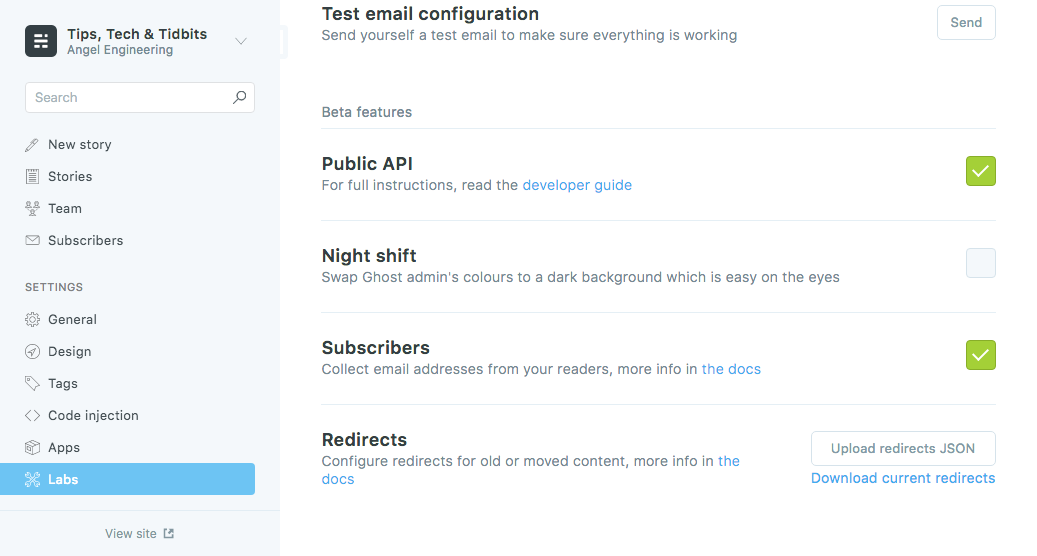
First, enable subscriptions in Ghost by going to the Labs section in your Admin site and checking the "Subscribers" box.
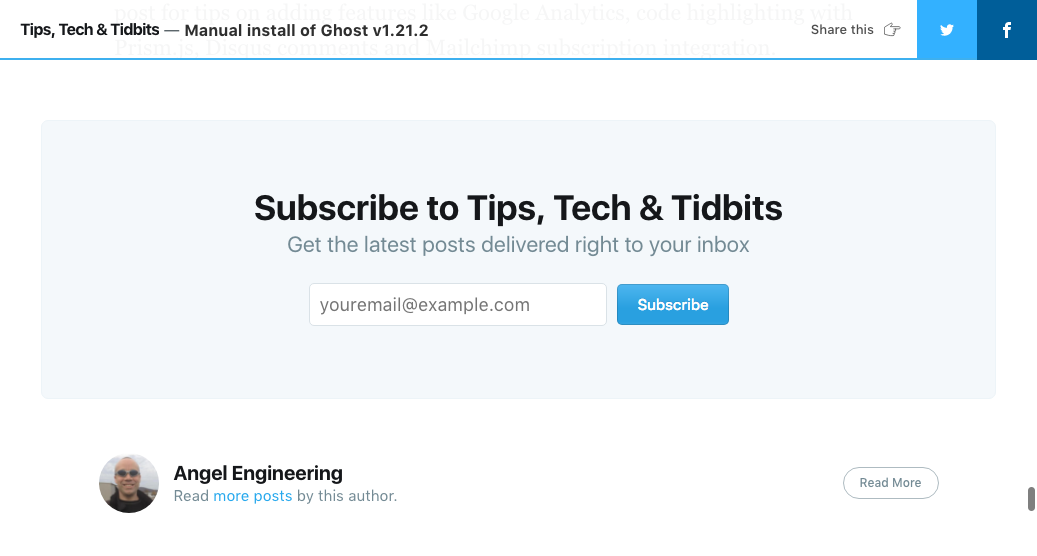
Reloading your ghost site, you will now see a subscription button on the top right of your homepage as well as any post page. Clicking this button will popup Ghost's subscriber dialog. In addition, the bottom of every post will now have a call to action with a similar subscription dialog. Before continuing with the next steps, subscribe to your blog with your email address for testing later.
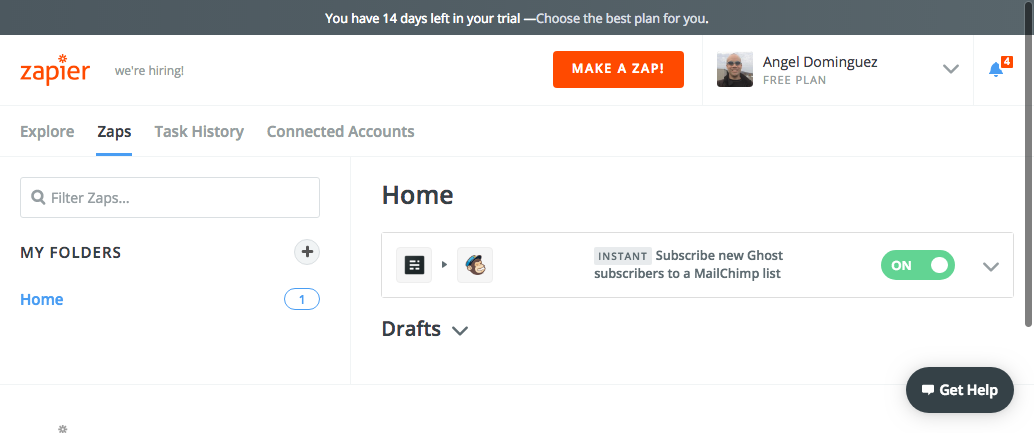
Next, sign into your Zapier account, from which you can look at predefined Ghost Integrations.
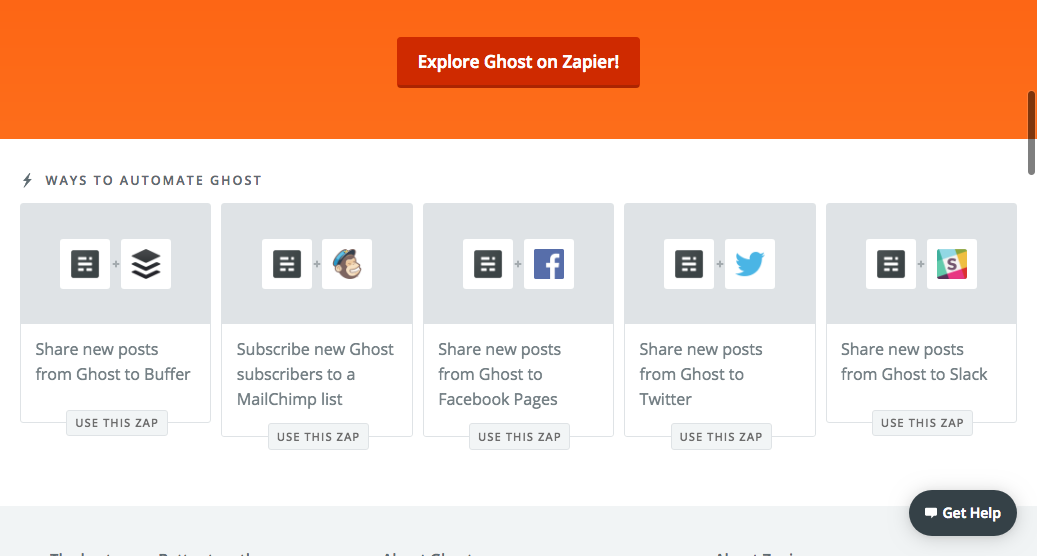
Select the "Subscribe new Ghost subscribers to a MailChimp list" option, and then click the button "Create this zap" to start the integration process.

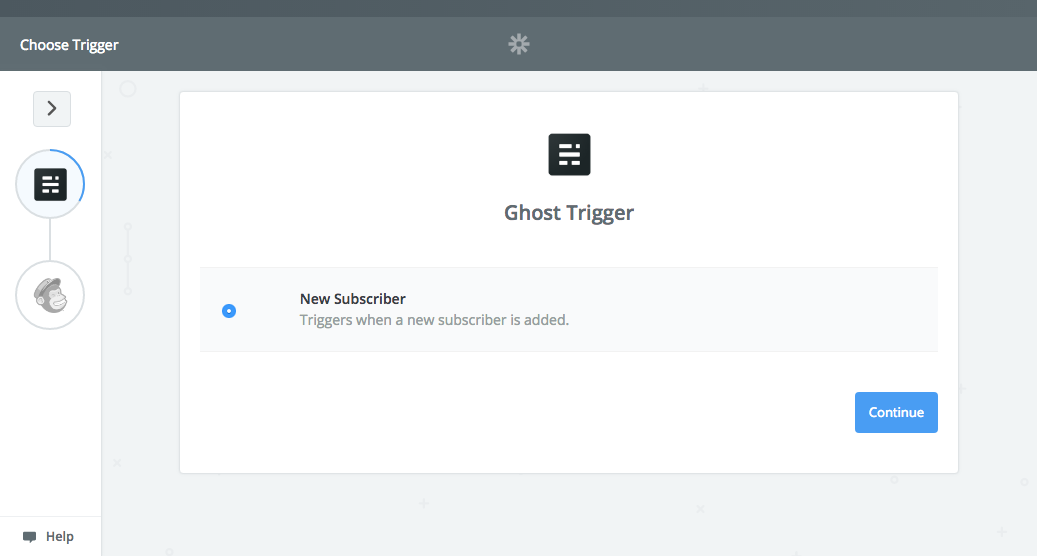
Click "Continue" on the next page to start the Ghost side of the integration. Select the only option of "New subscriber" and continue.
A new window will popup for you to enter your Ghost URL and login information. Enter these and continue.
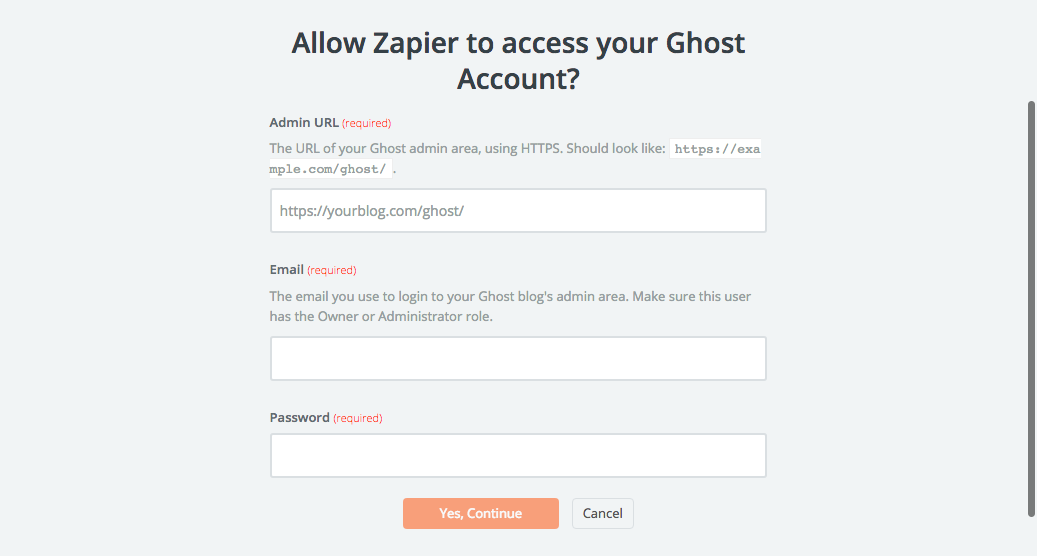
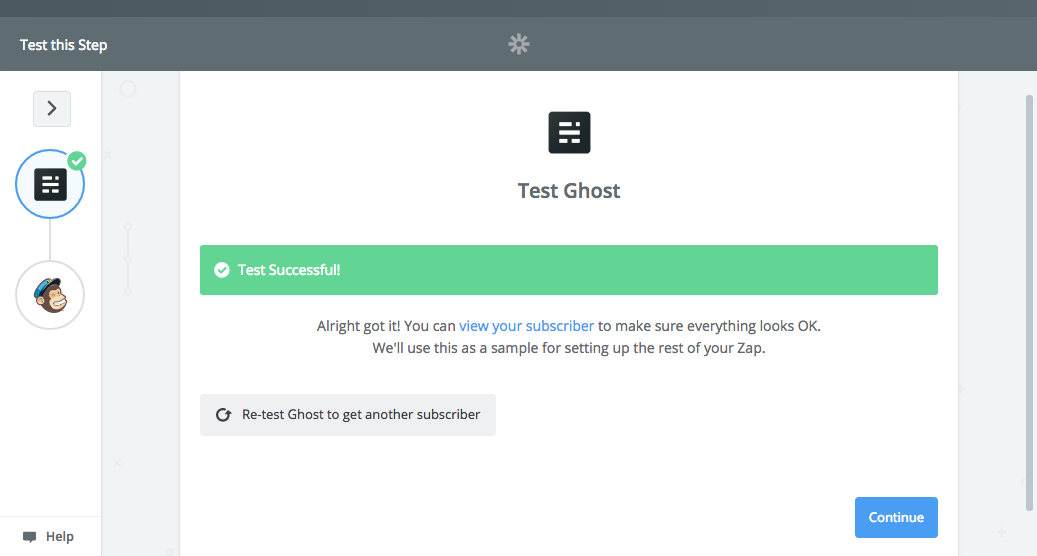
If the connection succeeds, you will be shown the next page. Click the button to save and continue the integration. On the following page, you can now test access to the Ghost subscribers list. If you didn't subscribe on your Ghost site yet, do so now before testing.

If Zapier was able to retrieve an email address from the Ghost subscription list, you will see the success page. You can click on the "View your subscriber" link to check the email address retrieved, and then continue.
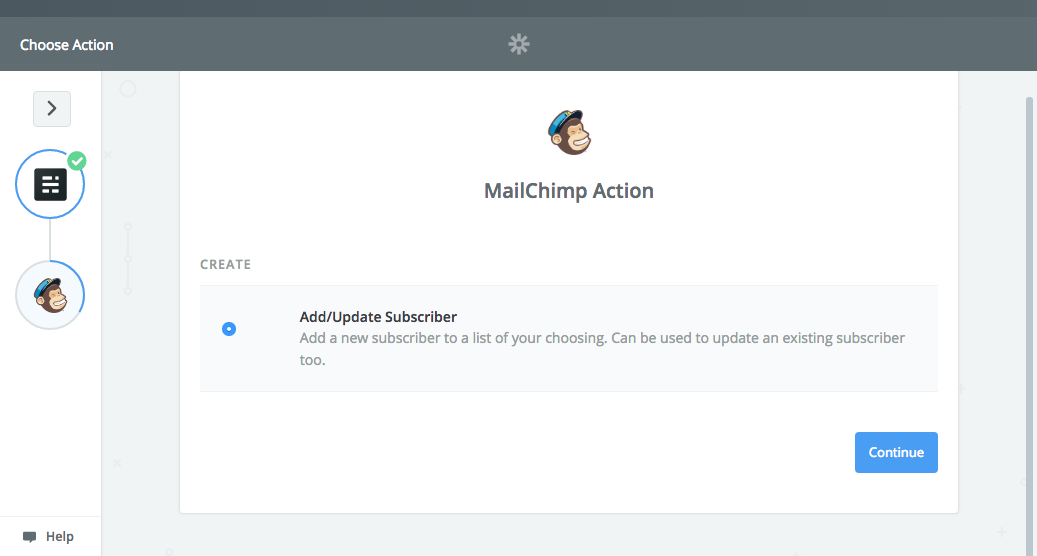
Click on the "continue" button to start configuring the Mailchimp portion of the integration. There is only one Mailchimp action available for "Add/Update subscriber", so select it and continue.
On this page, click on the "Connect an Account" button and a new popup from Mailchimp will appear.
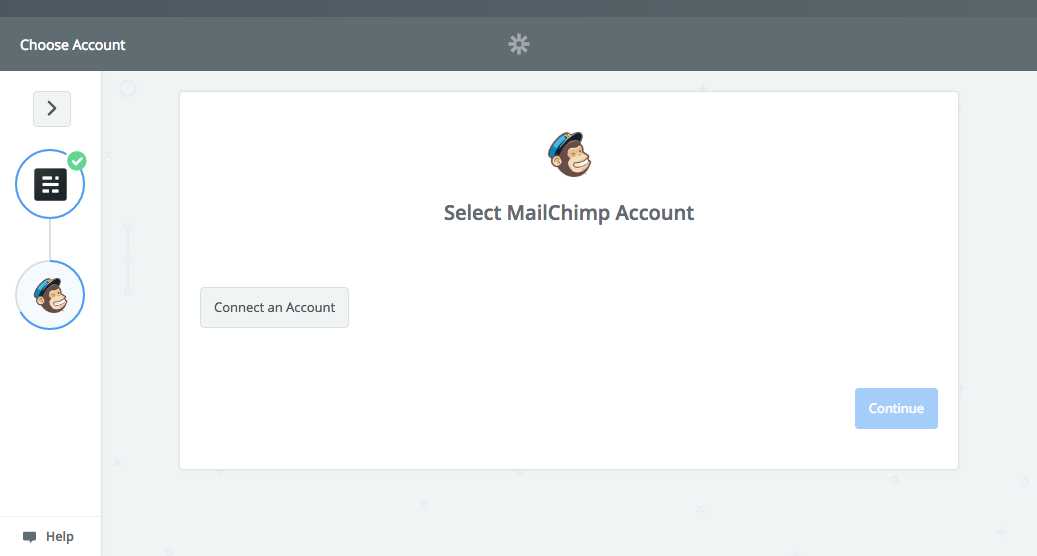
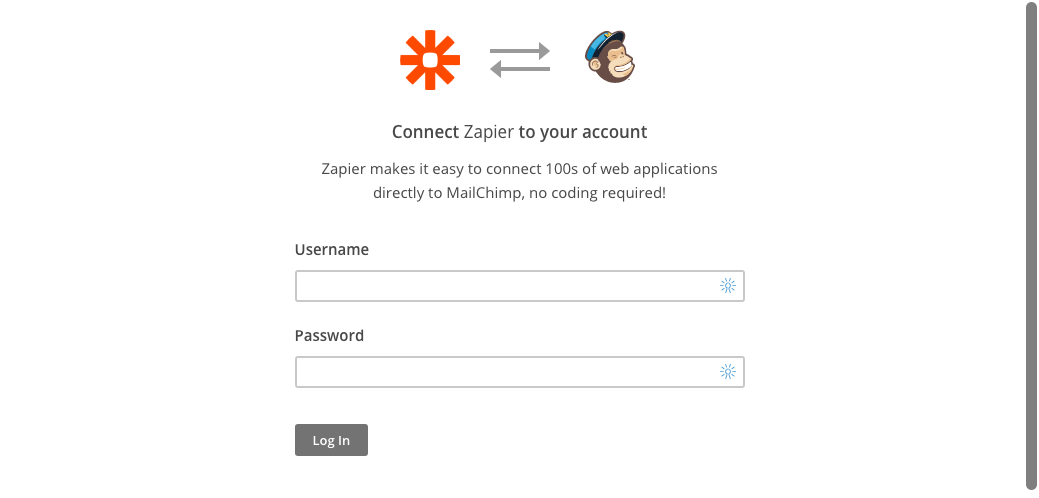
Enter your Mailchimp login and password to authorize Zapier access to your account.
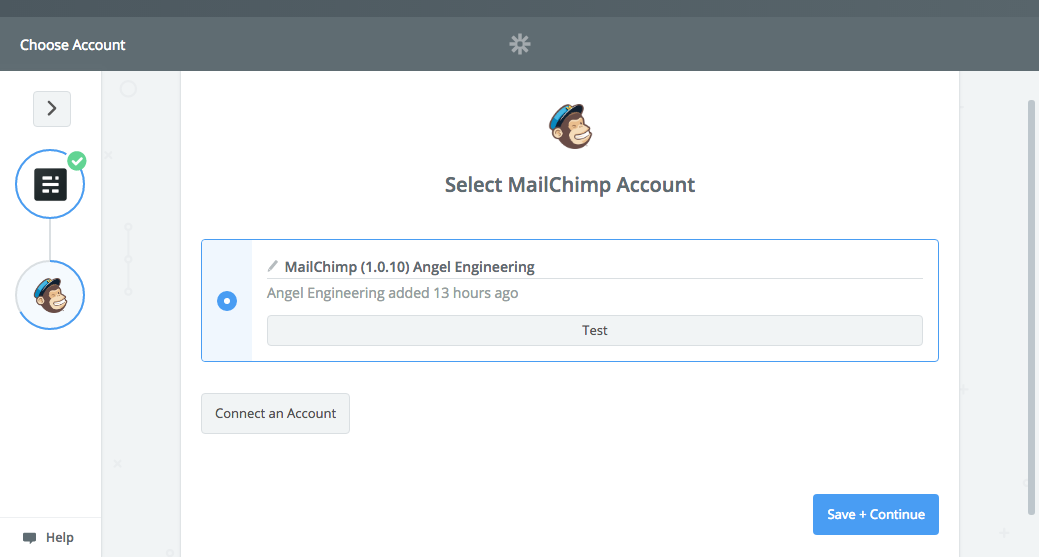
After allowing Zapier to sign in with your Mailchimp account, the following page allows you to test the connection. Tap the "Save + Continue" button to continue to the Mailchimp configuration portion of the integration.
This page controls the information sent from Ghost to Mailchimp for use in creating a new email to send out whenever a new blog post is published. If you haven't created a mailing list in Mailchimp yet, then let's do that first. Log into Mailchimp and click on the Lists option on the top of the page.
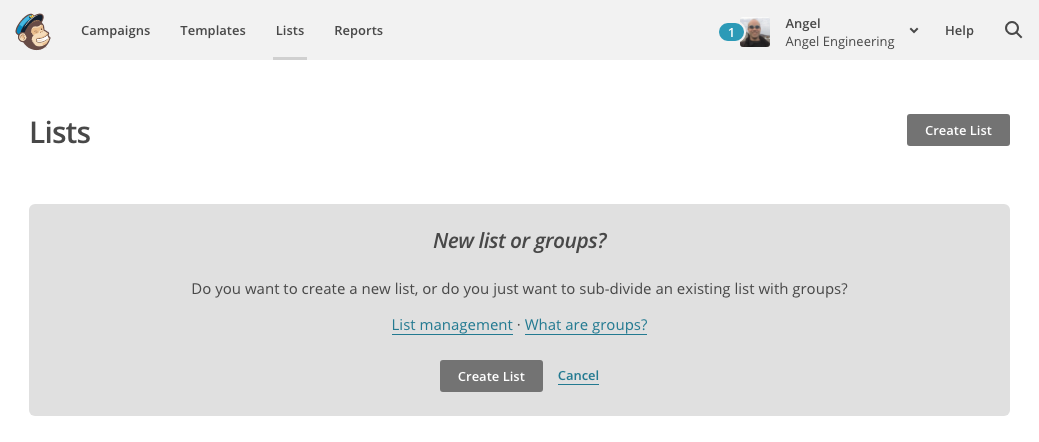
Click on the "Create list" button to start a new mailing list for your blog.
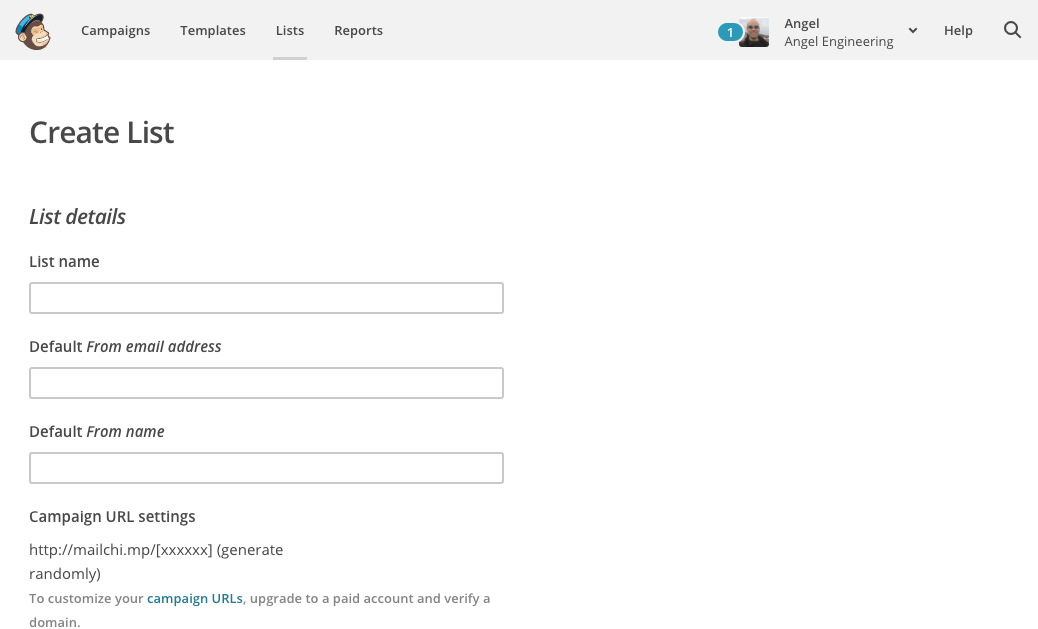
Add a name for your mailing list, usually the same name as your blog, then fill in the from email address and the name to use when sending email announcements from your blog. Save the new list and go back to the Zapier Mailchimp integration process and continue on to the "Set up Mailchimp Subscriber" page.
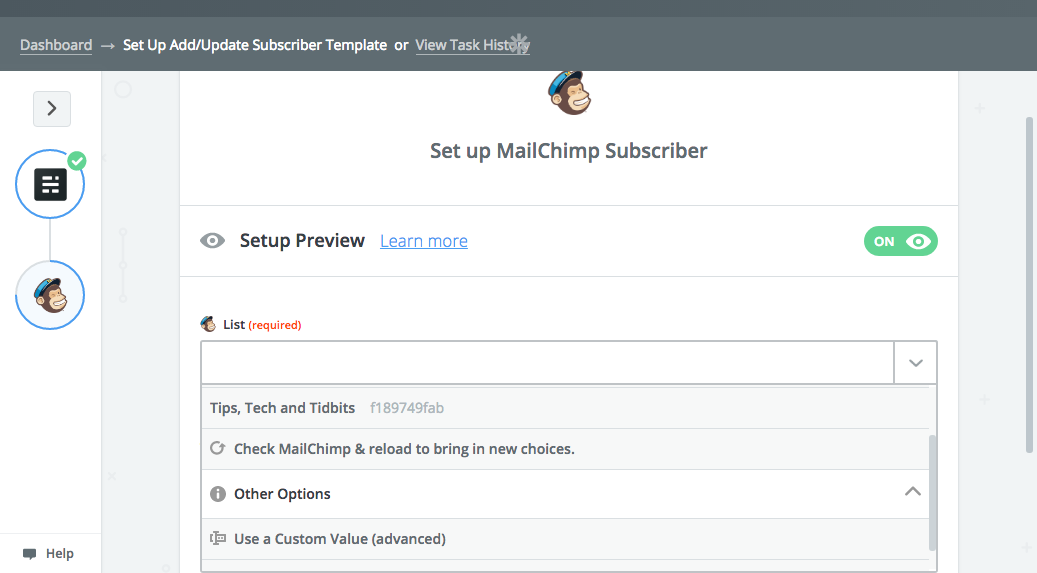
On this page, select your mailing list from the first dropdown for Mailchimp lists. If you just created a new list, you can choose the option to "Check Mailchimp and reload to bring in new choices" and then select it. The second field will show you the subscribed email retrieved from Ghost during the first part of the integration process. Continue to the next step.
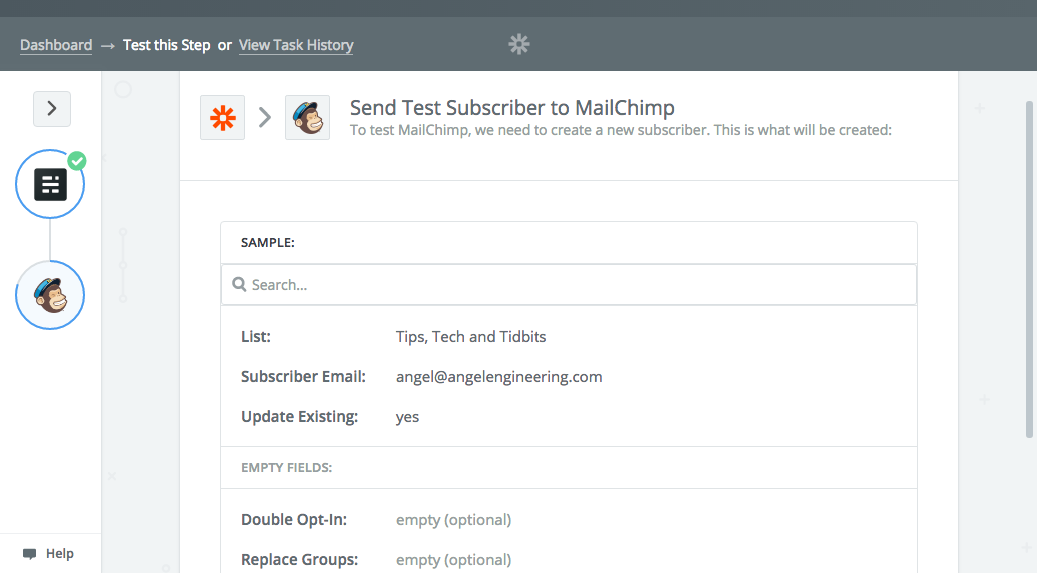
This page should show you the selected Mailchimp list, and Zapier will now add the Ghost subscriber to this list to test the connection. Hit continue to do so.
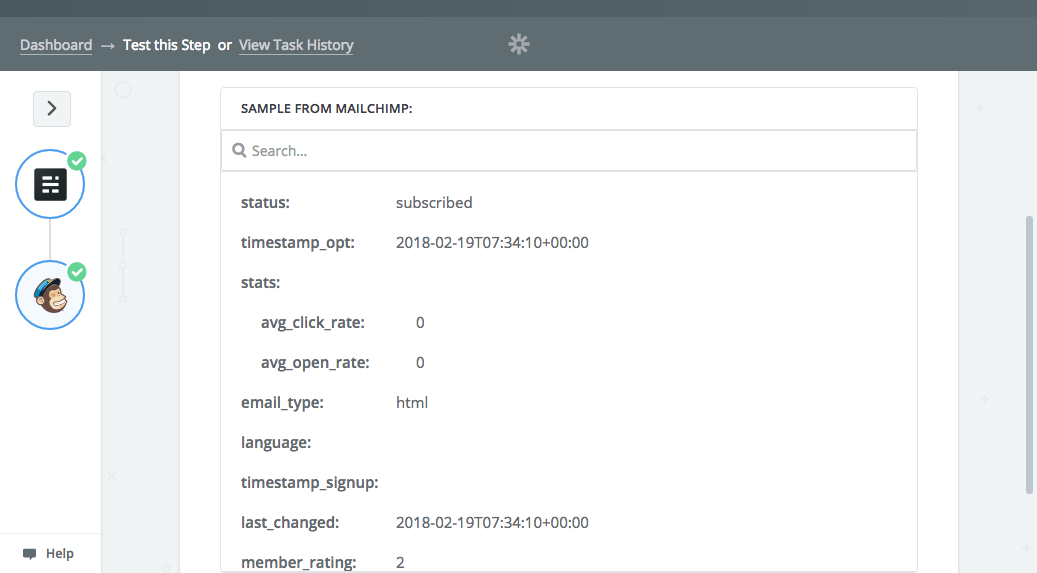
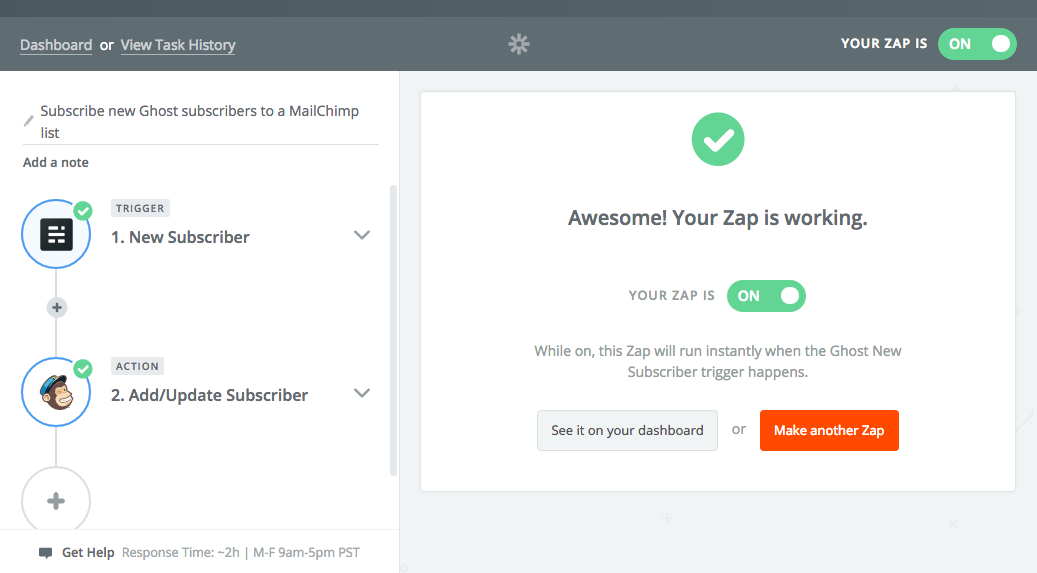
If all is ok, then you will see a success page, and your Ghost subscriber will now also appear on your Mailchimp mailing list. You can check on the Mailchimp site under list details to make sure. This zap can now be turned on, and any future subscriptions on your Ghost blog will also be placed on your Mailchimp mailing list.
Sending emails for new Ghost blog posts
Now that you have your Ghost subscribers importing into Mailchimp, it's time to setup a new Zapier integration to create a new email campaign whenever a new Ghost blog post is published on your site. There isn't a predefined integration for this yet, so you'll have to create your own. Log into Zapier and go to your Zap Dashboard.
Click on the "Make a Zap" button to begin.
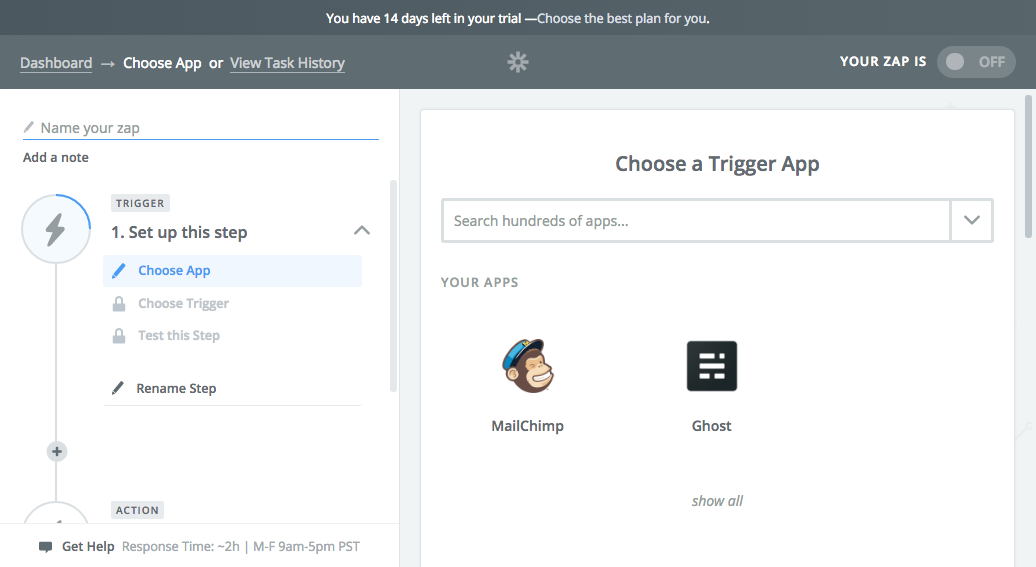
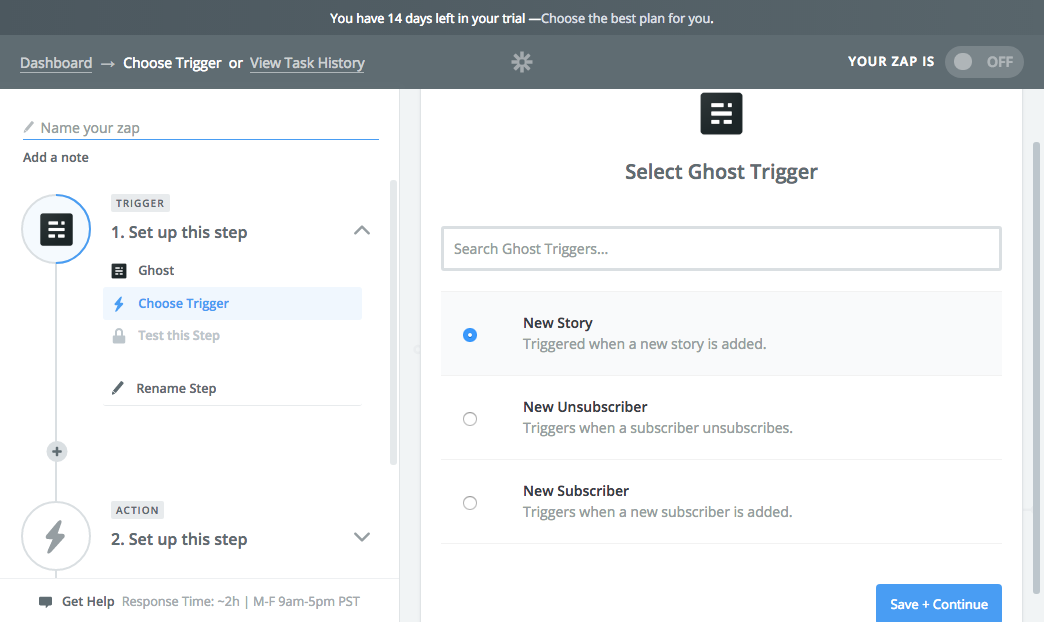
The first step will be to select the trigger, which in this case is from Ghost, so select Ghost from the connected apps section. Then select "New Story" from the available Ghost triggers, and click on the "Save and Continue" button.
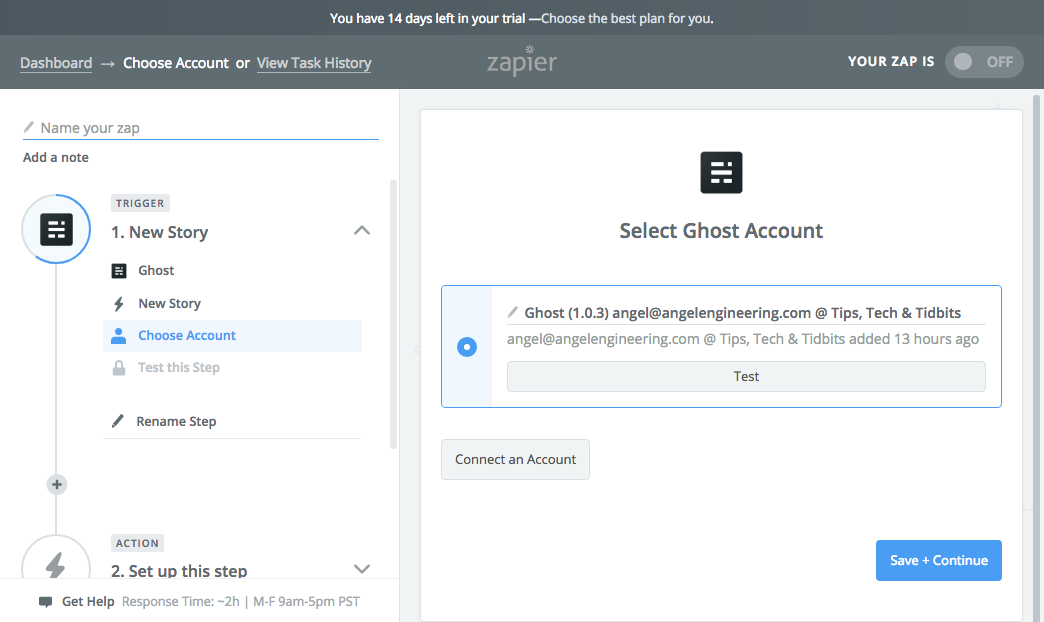
Select your connected Ghost blog account and then continue.
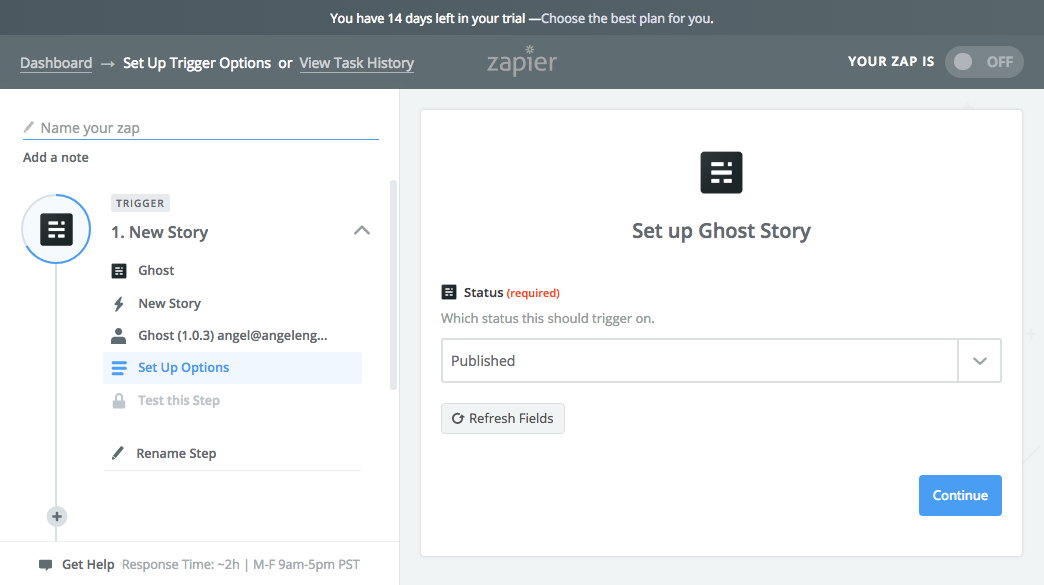
Now Zapier needs to know what status to trigger on, so select the "Published" status.
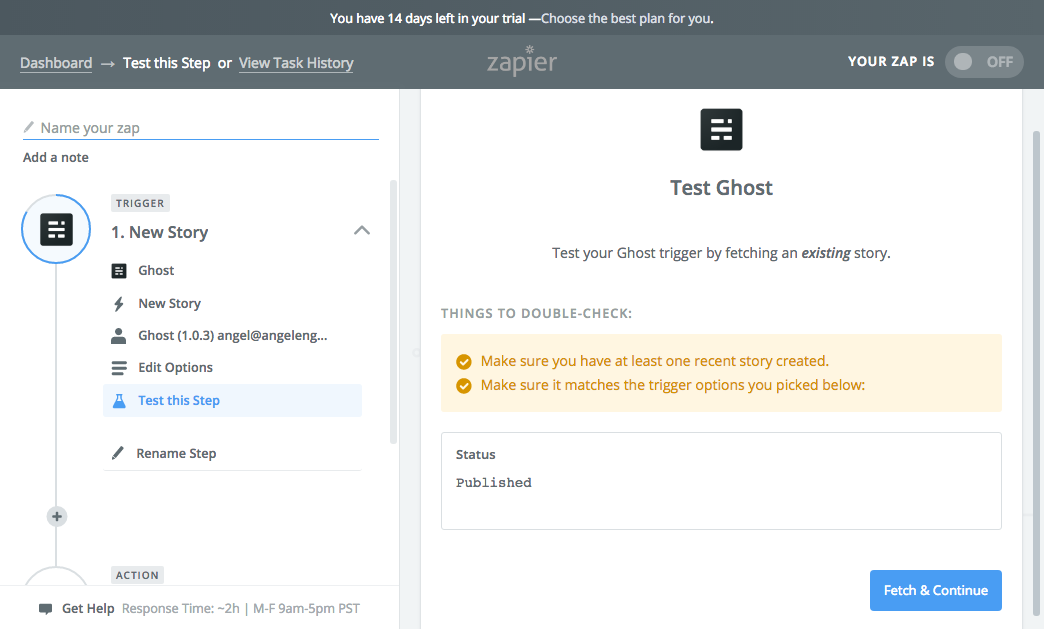
Zapier will now test the zap by retrieving a published post from your blog. If you don't have any posts published under your account(the default Ghost user stories won't show), then add a post and publish it for now. You can remove it after you finish the integration process.
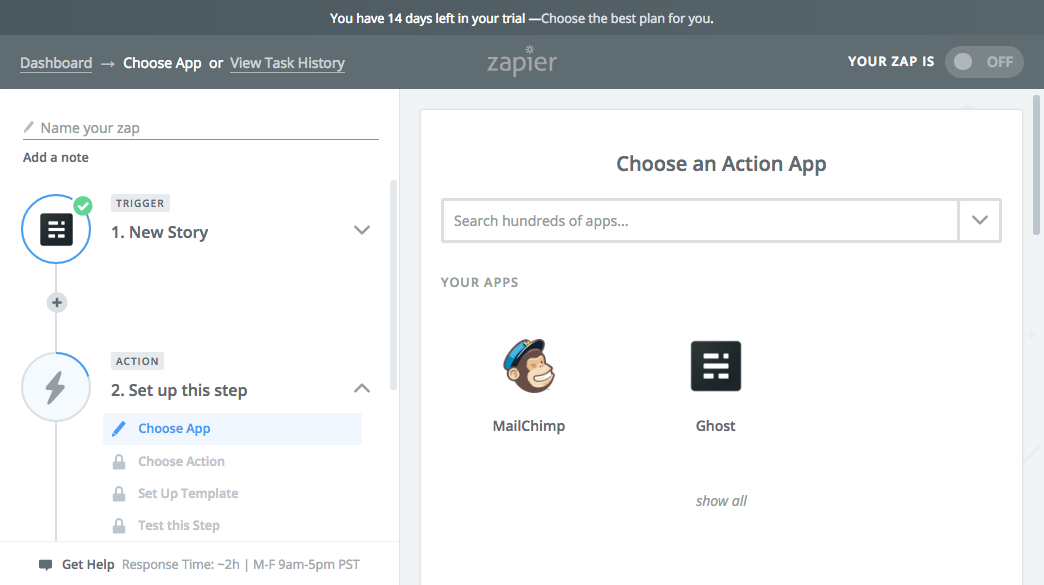
After confirming that Zapier can retrieve published stories from your blog, the next step is to select the action for the zap to take when a story has its status changed to published. Select Mailchimp as the action agent for this zap.
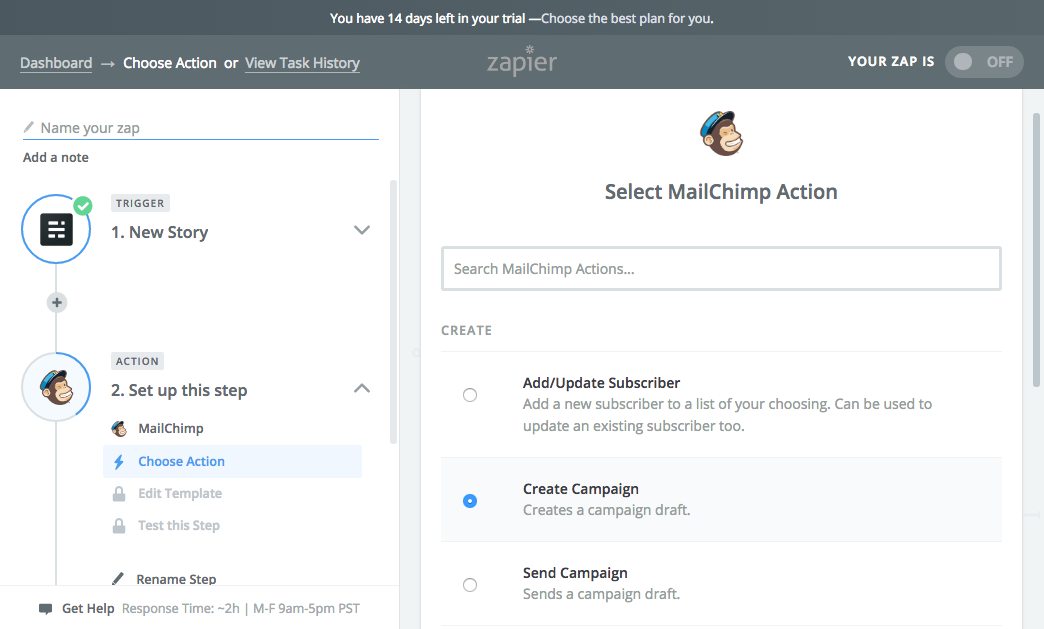
Initially you will only see an option for the subscription action. Click on "Show less common options", and you will now see an option for "Create Campaign", so select that to continue.
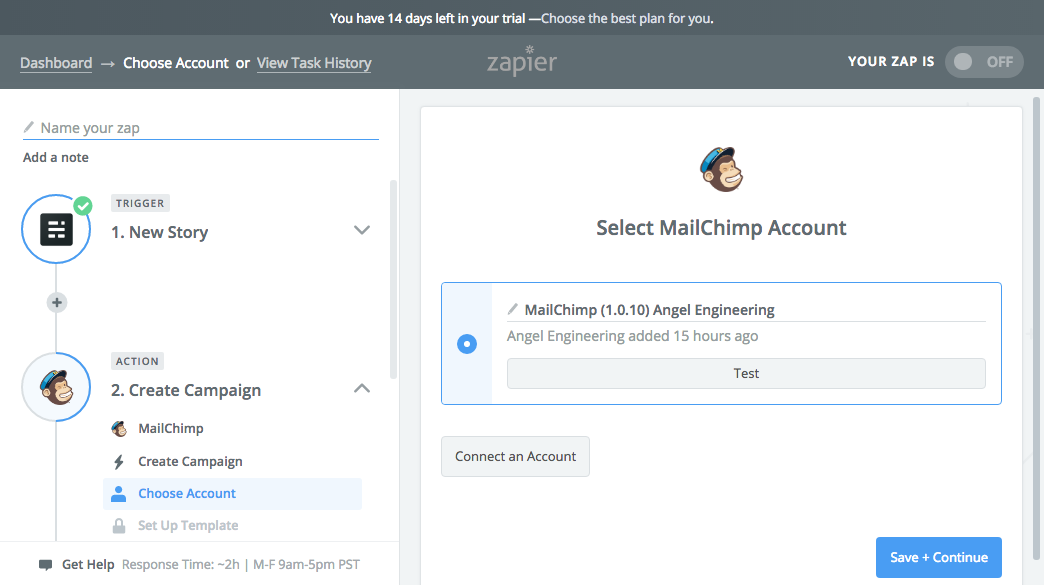
Select your previously connected Mailchimp account and continue.
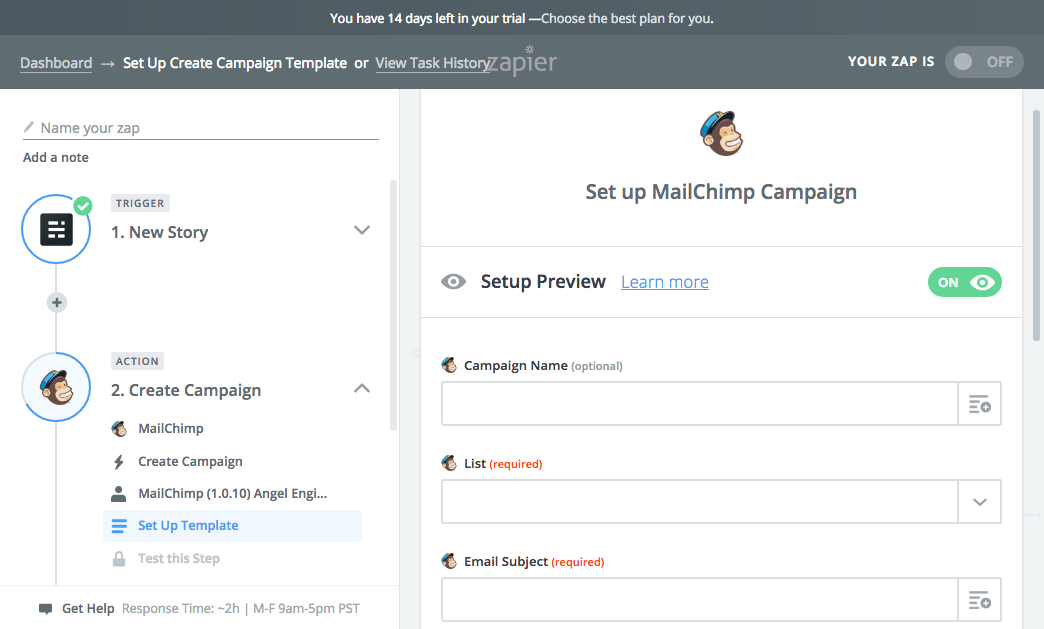
This final page is the most detailed and requires you to fill out all the fields to create a useful email campaign based on your published post. I'll go over the basics to show you how to send a basic email to your subscribers containing each newly published article in HTML format.
The first field is for naming each new email campaign created by this zap, and you can just choose the post title from the dropdown options. For the second field, select your previously connected Mailchimp list from the dropdown options. The third field is for the email subject, and you can select the post title again from the dropdown options.
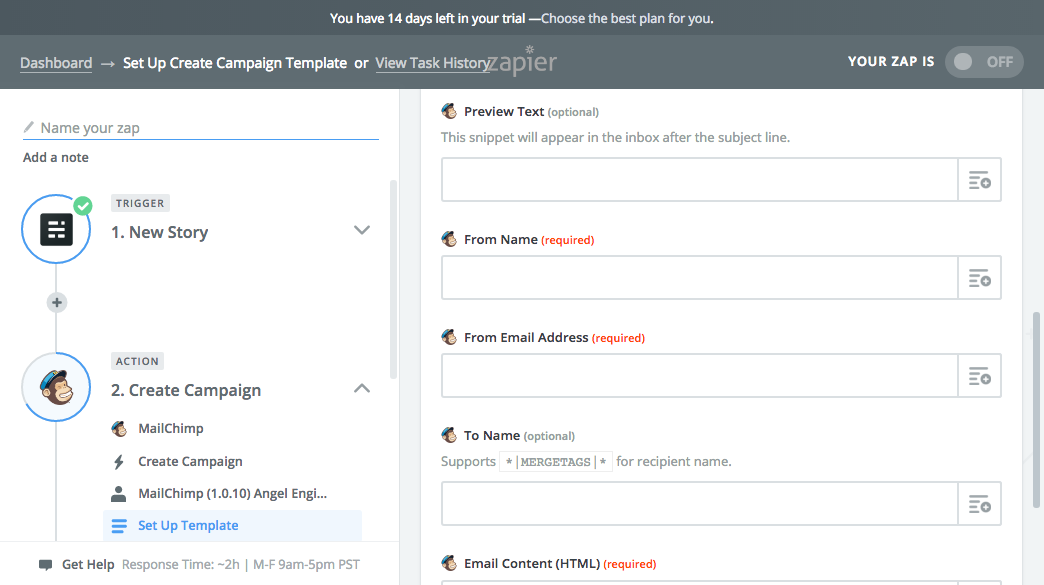
The fourth field for preview text is optional and you can leave this empty for now. Enter your sender email address on the fifth field, which should be one you've already verified with Mailchimp as a valid sender. The sixth field is optional and is meant for the recipient's name, which we don't collect during subscription, so leave this empty. The final field is for the email content body itself, so select the option for "HTML Formatted Content" from the dropdown selection list.
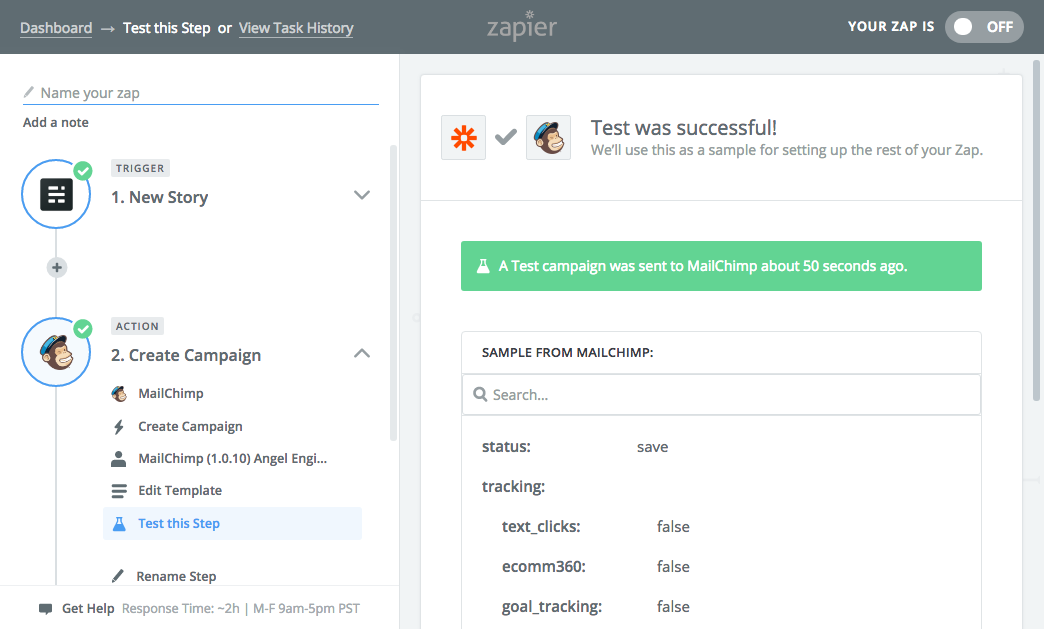
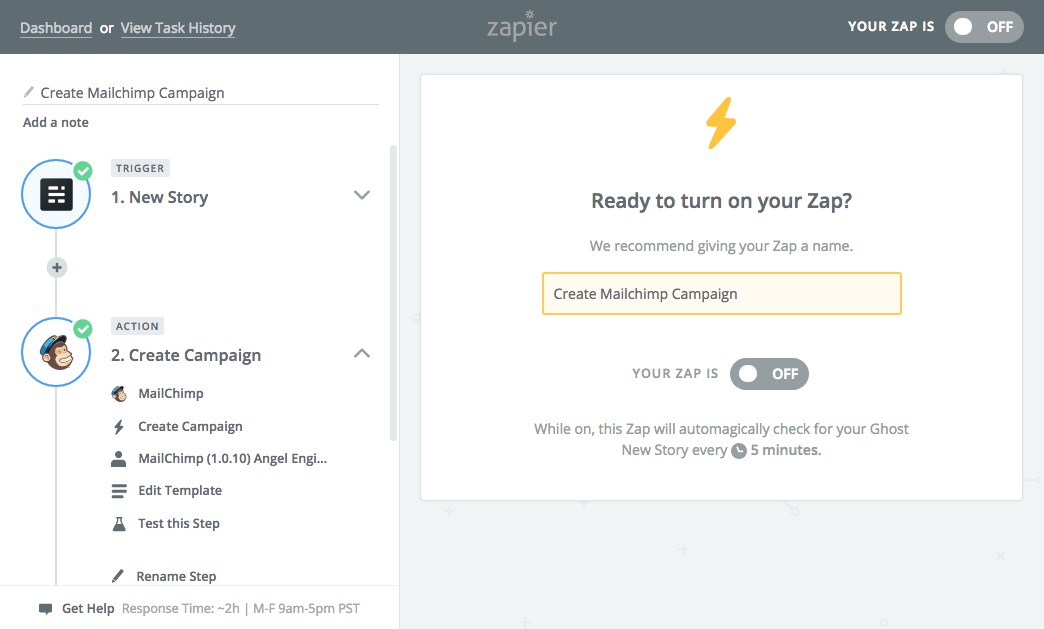
Zapier will now send a sample campaign based on the published post retrieved during the integration process. You will see a success screen if there were no issues sending this to your Mailchimp account.
The last step is to name your new zap integration. You should leave this zap disabled for now until you're happy with the email contents and formatting, and can enable it later when you're ready.
Now, go to your Mailchimp account, and go to the Campaigns section. You should see the campaign created by the zap integration.
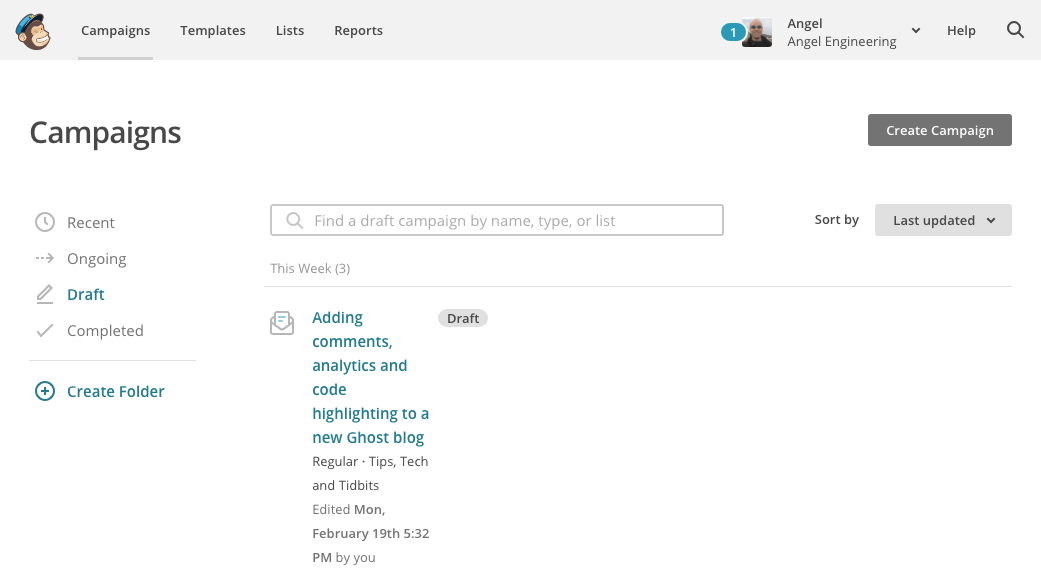
Click on the campaign to open the details page. From here you can click on "Send a test email" to send yourself an email and view the results of your Ghost/Zapier/Mailchimp integration.

You'll most likely be making changes on your zap integration details page, testing them here on your Mailchimp campaign details, and making changes on both sites until you're happy with the results. Ideally, you should create a properly styled email template that contains your blog logo and use that with Zapier's variable insertion options to create new campaigns that look and act the way you want them to.