
Once you've got a fresh install of Ghost running, it's time to configure it and add some useful features like Disqus comments, Google Analytics and code highlighting with Prism.js. Let's start by cleaning up the sample stories and user that come with your newly installed site.
Configure your new Ghost site
Point your browser to GHOST_URL/ghost/ and login to your ghost Admin site.

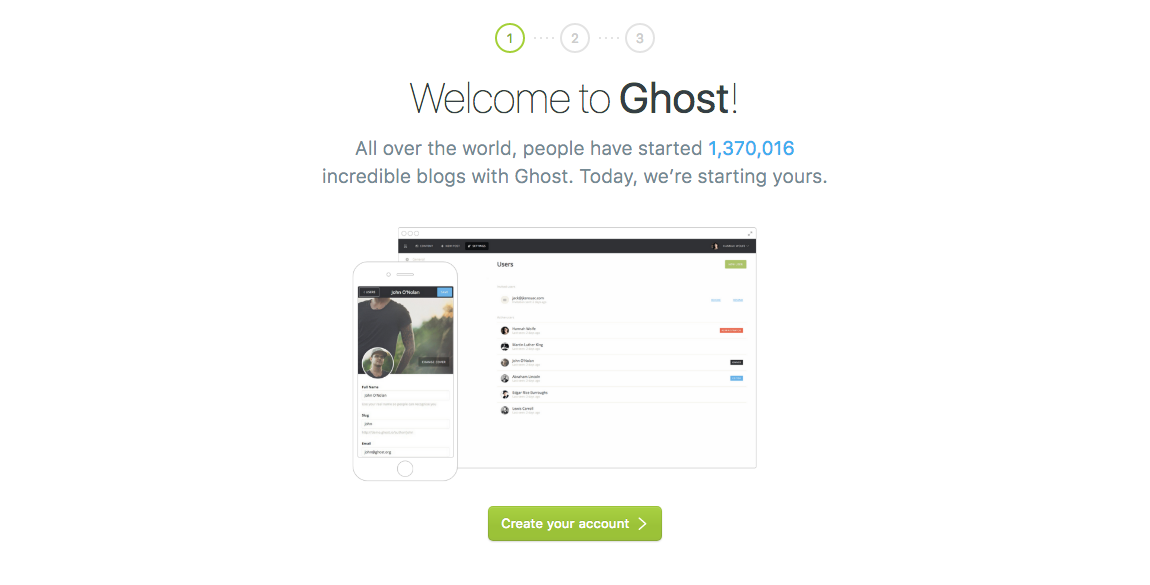
Click on the "Create your account" button to go the next screen, and enter your blog name, a user display name, your email address and a password to create your local Ghost login. You can invite more people to create accounts on the next screen, or just skip this step and start configuring your new Ghost blog.
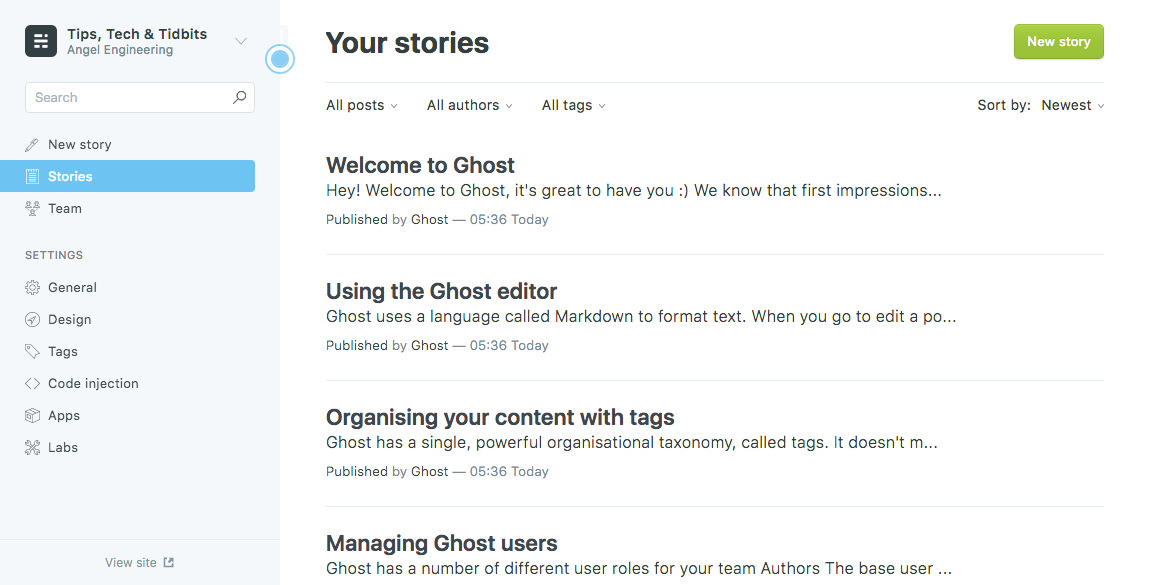
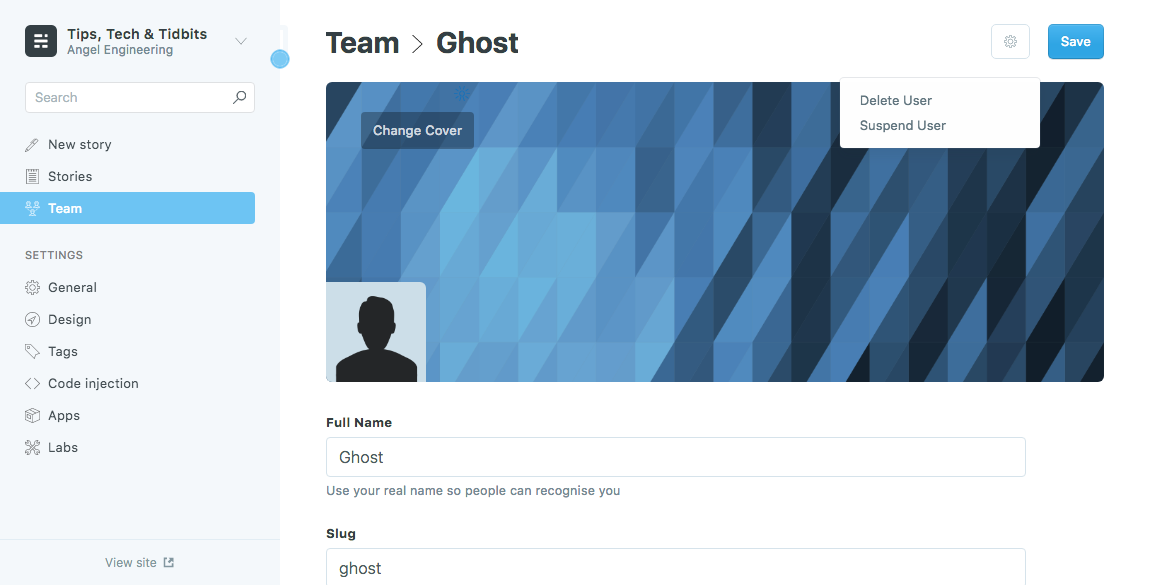
Ghost comes with a default set of articles/stories authored by a default user named Ghost. You can remove these by going to the "Team" page, clicking on the "Ghost" user and then tap the gear icon on the top left to delete this user. This will remove the default stories so you can start adding your own.
To allow your Ghost blog to send emails, you can use a free email service such as Mailgun. Sign up for an account, verify your domain, and then note your Mailgun SMTP credentials. Modify your config.production.json file and add the following sections:
"mail": {
        "transport": "SMTP",
        "options": {
            "service": "Mailgun",
            "auth": {
                "user": "MAILGUN_EMAIL",
                "pass": "MAILGUN_PASSWORD"
            }
        }
    },
    "auth": {
        "type": "password"
    },
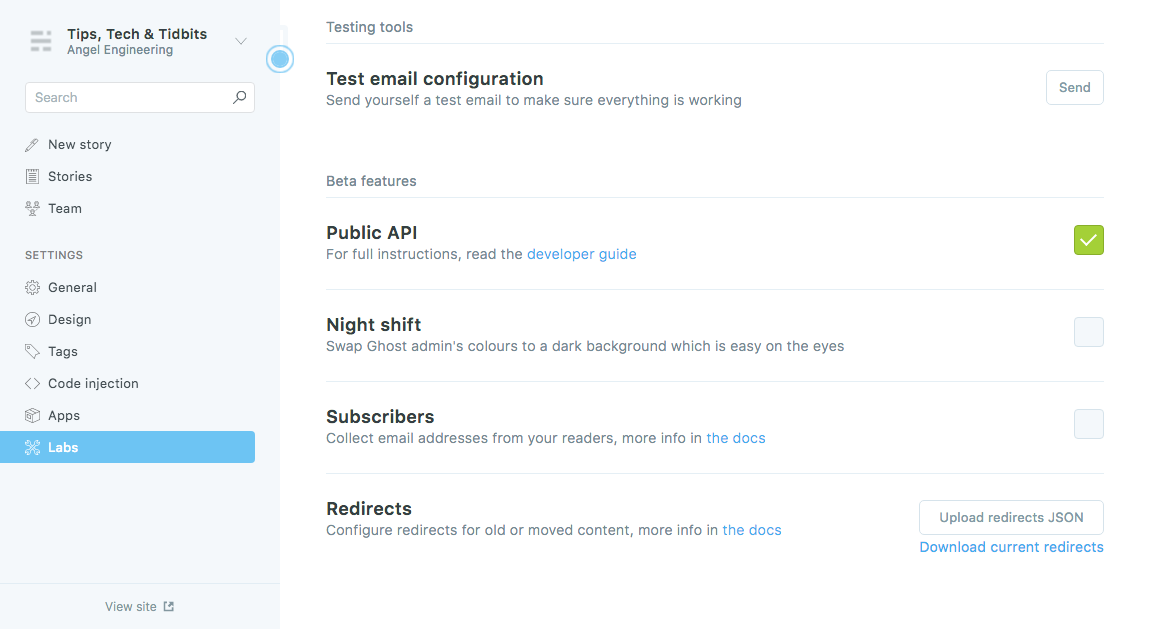
After reloading Ghost, go to the Labs Settings in your Admin (https://GHOST_URL/ghost/#/settings/labs) and you can test the credentials by clicking the Send button under the Test email configuration section.
Adding comments to your blog posts
If you'd like to allow commenting on your blog posts, you can sign up for a free account on Disqus. Add a new site via the Disqus Admin for your blog's URL, and you will be given a unique Disqus URL to use for your site config which will look like GHOST_URL.disqus.com.
To enable for your Ghost posts, edit the "post.hbs" file for your current theme. If you're using the default Casper theme, this would be under content/themes/casper/post.hbs.
Between the </footer> closing tag and the </article> closing tag you will see a commented out section that looks like:
{{!--
   If you use Disqus comments, just uncomment this block.
   The only thing you need to change is "test-apkdzgmqhj" - which
   should be replaced with your own Disqus site-id.

        <section class="post-full-comments">
            <div id="disqus_thread"></div>
            <script>
                var disqus_config = function () {
                    this.page.url = '{{url absolute="true"}}';
                    this.page.identifier = 'ghost-{{comment_id}}';
                };
                (function() {
                    var d = document, s = d.createElement('script');
                    s.src = 'https://test-apkdzgmqhj.disqus.com/embed.js';
                    s.setAttribute('data-timestamp', +new Date());
                    (d.head || d.body).appendChild(s);
                })();
            </script>
        </section>
        --}}
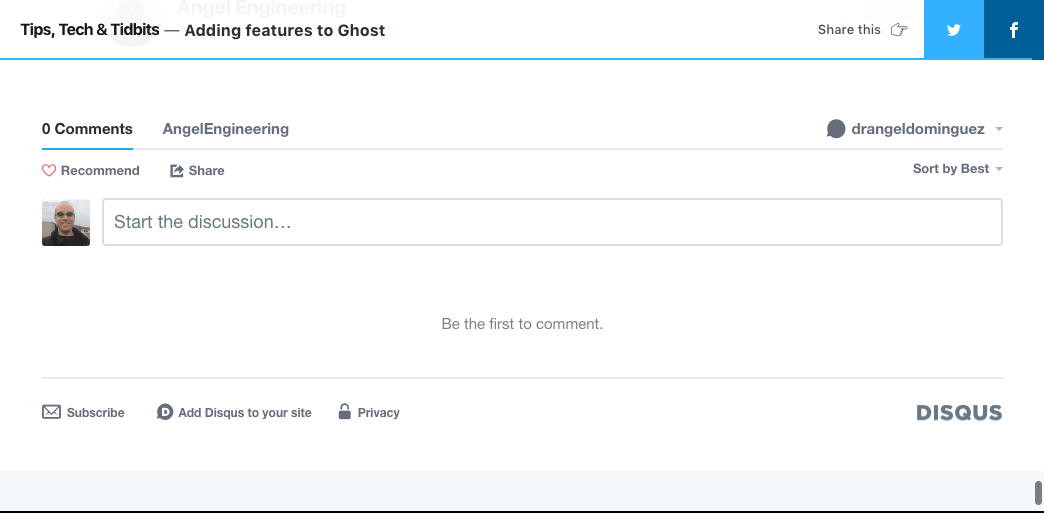
Remove the comments tags and the text on top, and replace the URL (test-apkdzgmqhj.disqus.com) in the Javascript include section to the one assigned by Disqus for your site(GHOST_URL.disqus.com).
Reload your Node ghost server instance and you should now see a comments section on the bottom of every post.
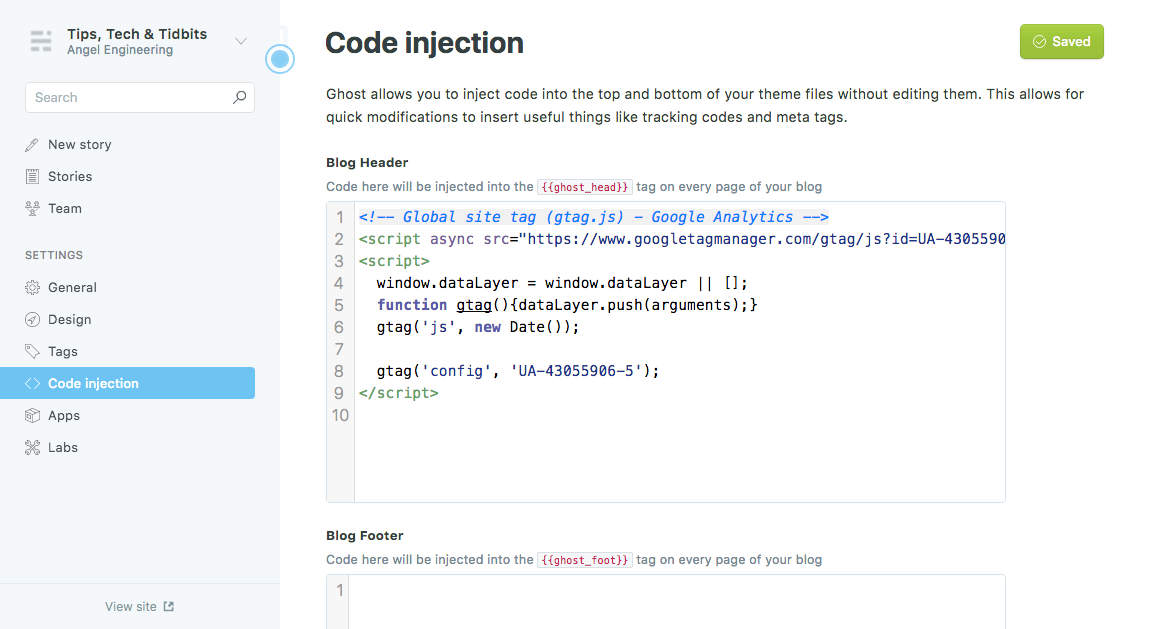
Adding Google Analytics to your site
If you'd like to add Google analytics to your site, Ghost makes it easy from the Admin page. Just go to the Code Injection section on your admin, and add your Google Analytics code to the Blog Header section.
Add code highlighting to your posts
If you'd like to add code highlighting with Prism.js, this is also easily done under the Code Injection section of the Ghost admin. To avoid downloading and serving the files via apache from your own server, you can look up the current version of Prism.js at a CDN like Cloudflare. Add a CSS stylesheet link to the Blog Header section like:
<link href="//cdnjs.cloudflare.com/ajax/libs/prism/1.13.0/themes/prism.min.css" rel="stylesheet" />
And add the javascript include link to the Blog Footer section:
<script type="text/javascript" src="//cdnjs.cloudflare.com/ajax/libs/prism/1.13.0/prism.min.js"></script>
In order to make use of this plugin, there are two things to keep in mind. First, the base include files will only perform highlighting for HTML, CSS and JS code snippets. You can add support for other languages by including additional files in the Blog Footer section for each language. For example, to support PHP we can add:
<script type="text/javascript" src="//cdnjs.cloudflare.com/ajax/libs/prism/1.13.0/components/prism-php.js"></script>
Take a look at the Prism.js page for a full list of supported languages, and include the appropriate css and javascript files for those languages you wish to highlight with Prism.
Second, in order to trigger the plugin in your post, you need to use a slightly different syntax for your code blocks. (In newer Ghost versions you'll have to make sure you select the Markup code box and not HTML when adding a new code block.) Inside the code section, the syntax is similar to GitHub Flavored Markdown(GFM), and uses 3 backticks followed by a language keyword to trigger a code block style. For example,
```javascript
// JS code highlighted inside this block
const jwt = require('jsonwebtoken');
const crypto = require('crypto');
const nodemailer = require('nodemailer')

function generateToken(user) {
  return jwt.sign(user, config.secret, {
    expiresIn: 604800 // in seconds
  });
}
```
will look like this with Prism.js installed:
// JS code highlighted inside this block
const jwt = require('jsonwebtoken');
const crypto = require('crypto');
const nodemailer = require('nodemailer')

function generateToken(user) {
  return jwt.sign(user, config.secret, {
    expiresIn: 604800 // in seconds
  });
}
And for PHP, if you've included the extra javascript config file from before, this:
```php
<?php
// PHP code goes here
if ( isset( $_FILES['fupload'] ) ) {
 print "name: ".     $_FILES['fupload']['name']       ."<br />";
 print "size: ".     $_FILES['fupload']['size'] ." bytes<br />";
 print "temp name: ".$_FILES['fupload']['tmp_name']   ."<br />";
 print "type: ".     $_FILES['fupload']['type']       ."<br />";
 print "error: ".    $_FILES['fupload']['error']      ."<br />";

 if ( $_FILES['fupload']['type'] == "image/gif" ) {
     $source = $_FILES['fupload']['tmp_name'];
     $target = "upload/".$_FILES['fupload']['name'];
     move_uploaded_file( $source, $target );// or die ("Couldn't copy");
     $size = getImageSize( $target );
     $imgstr = "<p><img width=\"$size[0]\" height=\"$size[1]\" ";
     $imgstr .= "src=\"$target\" alt=\"uploaded image\" /></p>";
     print $imgstr;
 }
}
?>```
will look like this:
<?php
// PHP code highlighted inside this block
if ( isset( $_FILES['fupload'] ) ) {
     print "name: ".     $_FILES['fupload']['name']       ."<br />";
     print "size: ".     $_FILES['fupload']['size'] ." bytes<br />";
     print "temp name: ".$_FILES['fupload']['tmp_name']   ."<br />";
     print "type: ".     $_FILES['fupload']['type']       ."<br />";
     print "error: ".    $_FILES['fupload']['error']      ."<br />";
     if ( $_FILES['fupload']['type'] == "image/gif" ) {
         $source = $_FILES['fupload']['tmp_name'];
         $target = "upload/".$_FILES['fupload']['name'];
         move_uploaded_file( $source, $target );// or die ("Couldn't copy");
         $size = getImageSize( $target );
         $imgstr = "<p><img width=\"$size[0]\" height=\"$size[1]\" ";
         $imgstr .= "src=\"$target\" alt=\"uploaded image\" /></p>";
         print $imgstr;
     }
 }
?>
Finally, if you wish to also have line numbers for your code blocks, we will need to include two more files and change the way you trigger Prism.
In the Ghost Admin under Code Injection, add another CSS stylesheet link to the Blog Header section:
<link href="//cdnjs.cloudflare.com/ajax/libs/prism/1.13.0/plugins/line-numbers/prism-line-numbers.css" rel="stylesheet" />
And add the javascript include link to the Blog Footer section:
<script type="text/javascript" src="//cdnjs.cloudflare.com/ajax/libs/prism/1.13.0/plugins/line-numbers/prism-line-numbers.js"></script>
You will have to define code blocks a little differently to have the line-numbers plugin work properly with Prism. The line-numbers plugin will only work for code blocks encapsulated by <pre><code></pre></code> and not by the 3 backticks block approach. This also means you will have to assign the language type to highlight as a class of your <pre> code blocks, as well as assigning the line-numbers class itself. For example, looking at a javascript code block written as:
<pre class="language-javascript line-numbers"><code>
// JS code highlighted inside this block
const jwt = require('jsonwebtoken');
const crypto = require('crypto');
const nodemailer = require('nodemailer')

function generateToken(user) {
  return jwt.sign(user, config.secret, {
    expiresIn: 604800 // in seconds
  });
}
</code></pre>
will look like this with Prism.js using the line-numbers plugin:
// JS code highlighted inside this block
const jwt = require('jsonwebtoken');
const crypto = require('crypto');
const nodemailer = require('nodemailer')

function generateToken(user) {
  return jwt.sign(user, config.secret, {
    expiresIn: 604800 // in seconds
  });
}